

In the realm of automotive personalization, car stickers have emerged as a popular and expressive medium for showcasing individuality and passion. These vibrant decals, ranging from simple logos to intricate designs, adorn countless vehicles worldwide, transforming them into rolling canvases that reflect the unique tastes and interests of their owners. Whether you’re a seasoned car enthusiast or a novice seeking to add a touch of flair to your ride, understanding the art of applying car stickers is essential for achieving a flawless and visually appealing result. How to put a sticker on a car in 2024?
I. Introduction: Unveiling the Allure of Car Stickers
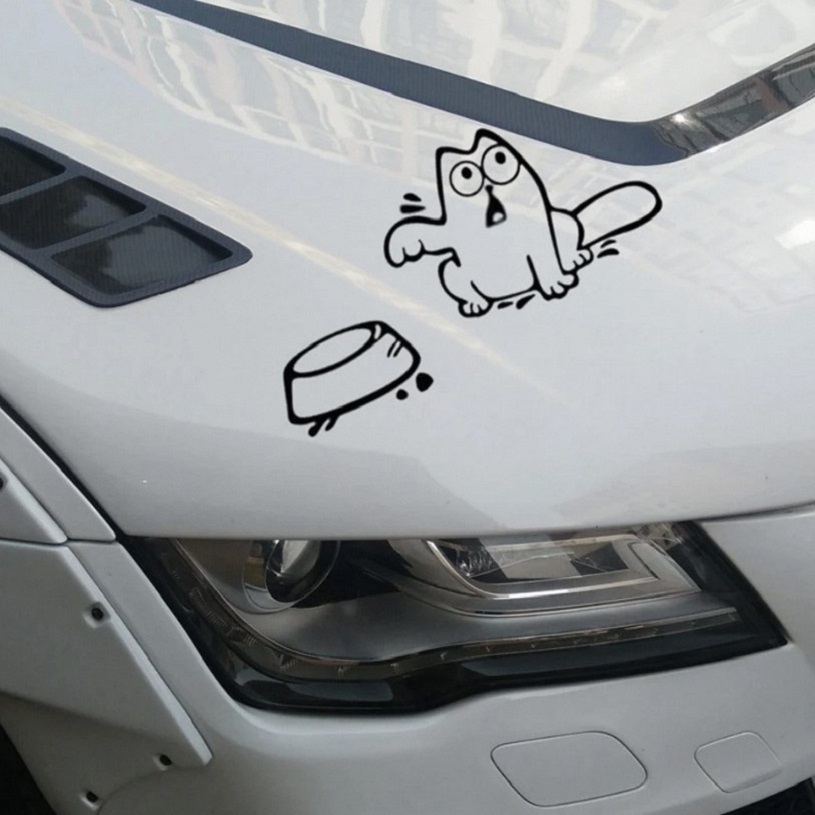
A. A Symbol of Personal Expression: Stickers as a Canvas for Creativity
Sticker placement on cars serve as a powerful form of self-expression, allowing car owners to transform their vehicles into personalized masterpieces. From displaying favorite bands and sports teams to showcasing hobbies and beliefs, stickers provide a platform for individuals to share their passions and interests with the world.
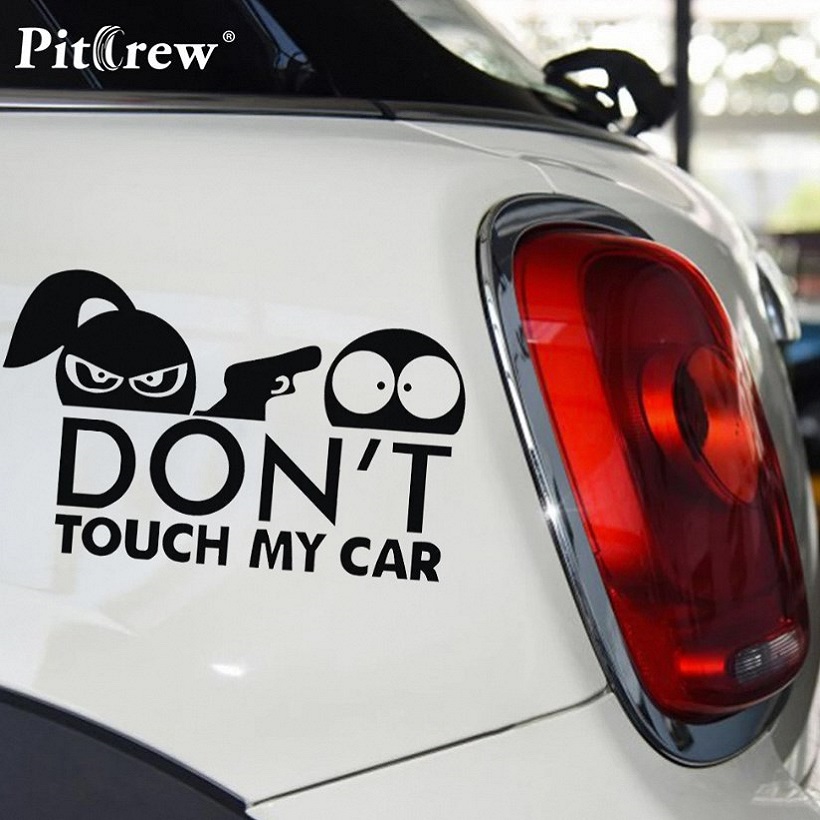
B. A Touch of Individuality: Distinguishing Your Car from the Crowd
In a sea of identical vehicles, car stickers offer a unique way to stand out from the crowd. By carefully selecting stickers that resonate with your personality and style, you can create a truly distinctive look that sets your car apart from the ordinary.
C. A Way to Display Interests and Passions: Showcasing Your Hobbies and Beliefs
Car stickers can serve as a visual representation of your hobbies, interests, and beliefs. Whether you’re an avid surfer, a passionate gamer, or a dedicated animal lover, there’s a sticker out there that perfectly captures your passions.

II. Choosing the Right Stickers: Selecting Suitable Designs and Materials
A. Considering Your Car’s Style and Color: Matching Stickers to Your Vehicle’s Aesthetics
When selecting car stickers, it’s crucial to consider the overall style and color of your vehicle. Choose stickers that complement the car’s aesthetics, creating a harmonious and visually appealing look. For instance, if you own a sleek sports car, opt for sleek, modern designs, while a classic car might suit vintage-inspired stickers.
B. Selecting Durable and Weatherproof Materials: Ensuring Stickers Withstand Harsh Conditions
Car stickers face the elements, exposed to sun, rain, and wind. Choose stickers made from durable and weatherproof materials, such as vinyl or polyurethane, to ensure they can withstand the rigors of outdoor use without fading, peeling, or cracking.
C. Adhering to Size and Placement Guidelines: Respecting Legal Regulations and Visual Appeal
Consider the size and placement of your stickers carefully. While larger stickers make a bold statement, they should be balanced with the size of your vehicle. Avoid placing stickers in areas that obstruct driver visibility or violate local regulations.
III. Preparing the Surface: Ensuring a Smooth and Clean Application
A. Cleaning the Application Area: Removing Dirt, Grease, and Debris
Before applying any stickers, it’s essential to prepare the surface thoroughly. Clean the area where you intend to place the sticker with mild soap and water to remove any dirt, grease, or debris. This will ensure a strong and lasting bond between the sticker and the car’s surface.
B. Drying the Surface Thoroughly: Eliminating Moisture for Optimal Adhesion
Once the surface is clean, allow it to dry completely before applying the sticker. Moisture can interfere with the adhesive’s ability to form a strong bond, potentially causing the sticker to peel off prematurely.
C. Using a Rubbing Alcohol Wipe: Removing Any Remaining Residue or Contaminants
For extra adhesion, consider using a rubbing alcohol wipe to remove any remaining residue or contaminants that may be present on the surface. This will further ensure a clean and secure application.
IV. Applying the Sticker: A Step-by-Step Guide for Flawless Placement
A. Positioning the Sticker: Finding the Ideal Location for Visual Balance and Impact
Carefully position the sticker on the desired location, ensuring it is level and visually appealing. Consider the overall balance and impact of the sticker on the car’s overall appearance.
B. Peeling the Backing Paper: Carefully Removing the Backing While Maintaining Sticker Integrity
Slowly peel off the backing paper, starting from one corner and working your way across the sticker. Be gentle to avoid tearing or damaging the sticker’s design.
C. Applying the Sticker: Smoothing Out Air Bubbles for a Bubble-Free Finish
Carefully apply the sticker to the prepared surface, using your fingers to smooth out any air bubbles as you go. Start from the center of the sticker and work your way towards the edges, ensuring a bubble-free application.
D. Pressing Firmly: Ensuring Strong Adhesion to the Car’s Surface
Once the sticker is in place, press firmly on the entire surface to ensure strong adhesion. Use a squeegee or a credit card to apply even pressure and remove any remaining air bubbles.

V. Additional Tips and Tricks: Enhancing the Application Process
A. Using a Squeegee or Credit Card: Removing Air Bubbles More Effectively
For stubborn air bubbles, a squeegee or a credit card can be helpful. Gently glide the tool over the sticker, starting from the center and pushing the air bubbles towards the edges, where they can easily escape.
B. Applying Stickers in Warm Weather: Ensuring Optimal Adhesive Strength
Applying stickers in warm weather conditions can be beneficial. Warmer temperatures allow the adhesive to activate more effectively, creating a stronger bond with the car‘s surface.
C. Allowing the Sticker to Cure: Giving the Adhesive Time to Fully Bond
After applying the sticker, allow it to cure for at least 24 hours before exposing it to harsh weather conditions or washing your car. This allows the adhesive to fully cure and form a strong, permanent bond.
VI. Troubleshooting Common Issues: Addressing Mistakes and Challenges
A. Removing Air Bubbles: Using a Needle or Pin to Prick Bubbles and Smooth Them Out
If air bubbles appear after applying the sticker, don’t despair. Use a sterile needle or pin to carefully prick the bubble, allowing the trapped air to escape. Then, gently smooth out the sticker with your fingers or a squeegee.
B. Realigning Misplaced Stickers: Gently Lifting the Sticker and Repositioning It
If you accidentally misplace the sticker, don’t panic. Carefully lift a corner of the sticker using a thin blade or your fingernail. Be very gentle to avoid damaging the sticker or the car’s paint. Once lifted slightly, reposition the sticker and press it firmly to ensure adhesion.
C. Removing Old or Damaged Stickers: Using Adhesive Removers or Goo Gone
Over time, car stickers may fade, peel, or become damaged. Removing old or damaged stickers requires a careful approach. Use a commercially available adhesive remover or Goo Gone to loosen the adhesive. Be patient and work slowly to avoid damaging the car’s paint. Once the sticker is removed, clean the area with soapy water and a soft cloth to remove any remaining adhesive residue.
VII. Maintaining Your Car Stickers: Preserving Their Appearance and Longevity
A. Protecting Stickers from Harsh Weather Conditions: Parking in Shaded Areas and Washing Gently
To keep your car stickers looking their best for years to come, protect them from harsh weather conditions. Whenever possible, park your car in shaded areas to minimize exposure to direct sunlight. When washing your car, use mild soap and water and avoid using harsh chemicals or abrasive sponges that could damage the sticker’s surface.
B. Cleaning Stickers Regularly: Using Mild Soap and Water to Remove Dirt and Grime
Regular cleaning helps maintain the appearance of your car stickers. Use a gentle car wash soap and water to remove dirt, grime, and bird droppings that can accumulate on the sticker’s surface. Avoid using harsh chemicals or abrasive cleaners, as these can dull the sticker’s finish.
C. Avoiding Harsh Chemicals and Abrasives: Preserving the Sticker’s Colors and Integrity
Harsh chemicals and abrasives can damage the sticker’s color and integrity. Avoid using degreasers, waxes, or polishes containing harsh chemicals directly on the sticker. If necessary, mask the sticker with tape before applying any cleaning products to other areas of the car.
VIII. Legal Considerations: Understanding Regulations and Restrictions
A. Adhering to Local Laws and Regulations: Avoiding Obstructive or Illegal Sticker Placement
Before applying any stickers to your car, familiarize yourself with local laws and regulations regarding sticker placement. Avoid placing stickers in areas that obstruct the driver’s vision, such as the windshield or windows. Additionally, stickers promoting illegal activities or offensive language may be prohibited.
B. Respecting Copyright and Trademark Laws: Using Only Authorized and Licensed Stickers
It’s important to respect copyright and trademark laws when choosing car stickers. Avoid using stickers featuring logos or characters protected by intellectual property rights unless you have explicit permission from the owner. Opt for authorized and licensed stickers to ensure you’re not violating any legal restrictions.
C. Ensuring Visibility and Safety: Not Placing Stickers that Impede Driver’s Vision
Safety should always be the top priority. Avoid placing stickers in any location that could obstruct the driver’s vision or interfere with the operation of the vehicle. Stickers on the rear window should not block the view through the rearview mirror.
IX. Conclusion: Embracing the Art of Car Stickers
A. A Creative Outlet: Expressing Your Personality and Style through Stickers
Car stickers offer a fun and creative way to express your personality and style on the road. They can showcase your passions, interests, and sense of humor, making your car a unique reflection of your individuality.

