Introduction to Car Dealer Stickers
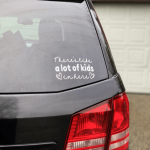
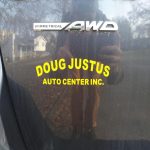
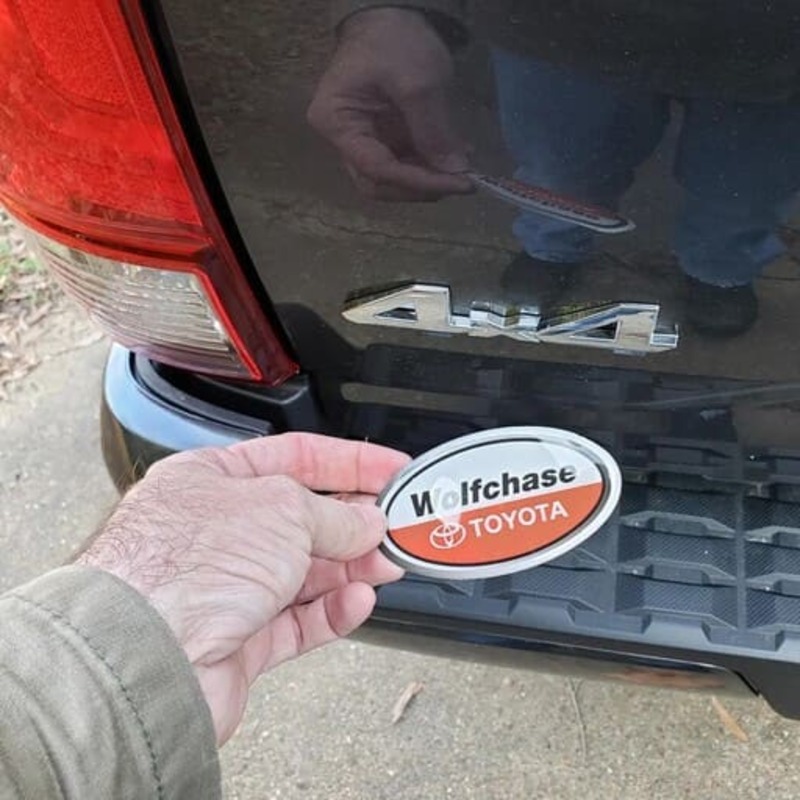
Car dealer stickers are common on newly purchased vehicles. Dealerships often use these stickers for free advertising. While they serve a purpose for the dealer, for many car owners, these stickers are unsightly. They can take away from the vehicle’s aesthetics and may not align with the owner’s preferences. Many new car owners choose to remove these stickers to enhance the look of their car. However, it’s essential to do so without damaging the vehicle’s paint or finish. In this blog, we’ll explore the process of car dealer sticker removal, ensuring a clean look without harming your car’s exterior.
Tools Needed for Removal
Before embarking on the car dealer sticker removal process, it’s crucial to have the right tools. Proper equipment not only facilitates a smooth operation but also prevents potential damage to your vehicle’s exterior. Here’s a checklist of tools you should have on hand:
- Hair dryer or heat gun: These tools apply heat to soften the adhesive.
- Plastic razor blade or scraper: These are gentle on your car’s surface and help lift the edges of the sticker.
- Fishing line or dental floss: Useful for slicing through the adhesive without scratching the paint.
- Adhesive remover: To clean up any residue after the sticker is gone.
- Microfiber cloth: For a gentle clean-up and to apply the adhesive remover.
- Car wash soap and water: Necessary for pre and post-removal cleaning of the sticker area.
These items are easily accessible and likely already a part of your household or garage supplies. By using them correctly, you can remove car dealership stickers with confidence and preserve the integrity of your vehicle’s paintwork.
The Importance of the Right Tools
Choosing the appropriate tools is half the battle won in car dealer sticker removal. The right tools ensure that the process is effective and safe. For example, a hair dryer or heat gun is perfect for softening the sticker’s adhesive. Whereas, a metal razor blade might seem like a good idea, but it can easily scratch the paint. Stick to a plastic variant for a scratch-free outcome. Similarly, using dental floss to saw through the softened adhesive is a safer alternative to peeling with your fingers, which could tear the sticker and leave more residue. It’s these small tool choices that make a significant difference in achieving a clean and damage-free removal.
Pre-Cleaning the Sticker Area
Before diving into the removal process, pre-cleaning the sticker area is a critical step. It ensures a safer and cleaner detachment of the car dealer sticker. Here’s how to properly pre-clean the sticker area:
- Wash Thoroughly: Start by washing the sticker and surrounding area with car wash soap and water. This removes any dirt or debris that could scratch the paint during removal.
- Dry Carefully: After washing, use a microfiber cloth to gently dry the area. Avoid leaving any moisture that could hinder the adhesive softening process.
- Inspect the Area: Look for any irregularities or damage near the sticker. Addressing these beforehand can prevent further issues during removal.
- Clear Access: Remove any obstructions like license plate frames or trim pieces. This gives you better access to the edges of the sticker.
Pre-cleaning is not just a preliminary step; it’s an investment in your car’s exterior health. Skipping this could result in unnecessary scratches or damage. Take your time to do it right and you’ll be rewarded with a smooth and clean removal.
Heating: The Effective Way to Loosen Adhesive
Warming up the sticker’s adhesive is the key to a smooth removal. This is done by applying heat, which softens the glue and makes the sticker easier to peel off. There are two main tools you can use: a hair dryer or a heat gun.
Hair Dryer vs Heat Gun
A hair dryer is safer and easier to use. It produces enough heat to get the job done without damaging the car’s paint. Keep it a few inches from the sticker and move it around to evenly warm the area. Do this until the sticker feels warm to the touch.
The heat gun is more powerful and works faster. However, it also comes with a greater risk of overheating and damaging the paint. If choosing a heat gun, use it on a low setting and keep it moving. Don’t focus on one spot for too long.
During this heating process, be patient and cautious. Keep a safe distance and do not apply too much heat. Tackle small sections gradually. It allows for careful control and prevents from overdoing it. After the adhesive is warm and malleable, you can move on to peeling the sticker off with the right tools.
Techniques for Peeling Off the Sticker
Peeling off car dealer stickers requires care and patience. Here are some step-by-step techniques:
- Start Slowly: Once the sticker is warm, begin at the corners. Gently lift the edge with your plastic tool.
- Use Floss: Take a piece of dental floss and slide it under the lifted edge. Saw back and forth to cut through the adhesive.
- Keep Heating: If the sticker resists, apply more heat. Use your hair dryer or heat gun to soften the adhesive, but don’t overdo it.
- Peel Gently: As the sticker lifts, hold it close to the car surface. Peel back slowly to avoid tearing.
- Plastic Over Metal: Always use a plastic tool, not metal, to avoid scratches. If the sticker doesn’t come off with floss, try a plastic razor blade or card.
- Final Check: As you remove the sticker, check for any tearing. If bits remain, reheat and use your tools to remove them.
By following these techniques, the car dealer sticker should come off cleanly. Remember, take it step-by-step to prevent damage to your car’s paint.
Adhesive Residue Removal
After the sticker has been peeled off, often a sticky residue remains. It’s crucial to remove this adhesive carefully to avoid marring the car’s finish. Here’s how you can clean up the remaining glue:
- Use Adhesive Remover: Apply a commercial adhesive remover to a microfiber cloth. Gently rub it onto the residue until it lifts away.
- DIY Solutions: If you don’t have an adhesive remover, you can use rubbing alcohol or a mixture of vinegar and water. Apply with a soft cloth.
- Gentle Motion: Rub in a circular, gentle motion to avoid scratching the paint. Be patient, as it may take some time for the adhesive to dissolve.
- Checking Progress: Frequently check if the adhesive is coming off by lightly scratching at it with your fingernail.
- Rinse Area: Once the residue is fully removed, rinse the area with soap and water to remove any chemical traces.
- Dry Entirely: Use a clean microfiber cloth to dry the area thoroughly. Make sure no moisture remains.
Removing adhesive residue is delicate work. Avoid harsh scrubbing and take your time for a clean finish.
Post-Removal Cleaning
After successfully removing the car dealer sticker and adhesive residue, the next step is to clean the area thoroughly. This is to ensure that any remnants of the adhesive remover and loosened debris are taken away, leaving a spotless surface.
Ensuring a Scratch-Free Surface
To maintain a pristine surface post-cleaning, follow these steps:
- Gentle Wash: Re-wash the area using car wash soap and water to eliminate any cleaning product residue.
- Soft Cloth: Wipe the surface with a clean microfiber cloth, as its soft fibers are gentle on the car’s finish.
- Rinse Well: Rinse the spot with clean water to remove soap suds and any lingering dirt.
- Dry Off: Pat the area dry with another dry microfiber towel to prevent water spots from forming.
Post-cleaning is vital for a flawless finish and to prepare the surface for any protective coatings you might want to apply.
Protecting Your Car After Sticker Removal
After removing a car dealer sticker, protect the car’s paint to maintain its shine and health. Here are tips to safeguard your car’s surface:
- Wax the Area: Apply a layer of quality car wax to the spot. This replaces any wax stripped during the sticker removal and forms a protective barrier against the elements.
- Consider Ceramic Coating: For longer-lasting protection, a ceramic coating may be applied. It’s a more durable alternative to waxing and offers higher resistance to dirt and water.
- Regular Washing: Establish a routine of washing your car to prevent dirt build-up. Clean cars are less likely to get scratches because dirt can cause damage.
- Keep in Shade: Whenever possible, park your car away from direct sunlight. UV rays can fade and damage the paint over time.
- Prompt Repair: Attend to any paint chips or scratches quickly to prevent rusting and further damage.
By following these protection tips, your car’s paint will stay in top condition. It will look good, and its value could be higher if you decide to sell it.
Final Thoughts and Tips
In conclusion, removing car dealer stickers is a task you can handle with care. Keep these tips in mind:
- Go Slow: Work slowly to prevent paint damage.
- Heat Up: Use a hairdryer or heat gun to soften the adhesive.
- Use the Right Tools: Plastic tools and floss are gentler on your car’s exterior.
- Clean Up: Wipe away any leftover adhesive with the right remover.
- Wash the Area: After the sticker is gone, give your car a good clean.
- Wax On: Protect the freshly cleaned spot with car wax.
- Consider Professional Help: If you’re unsure, hire a pro for the job.
By following these steps, the sticker will be a distant memory. Your car’s exterior will thank you for the extra attention to detail. Happy cleaning!