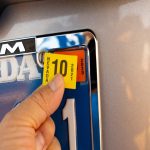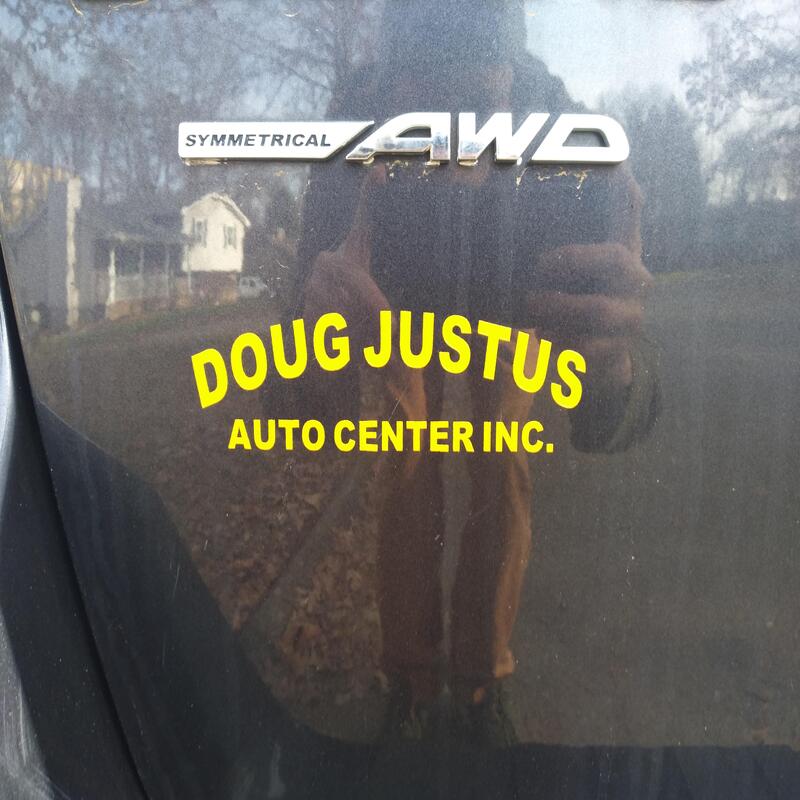
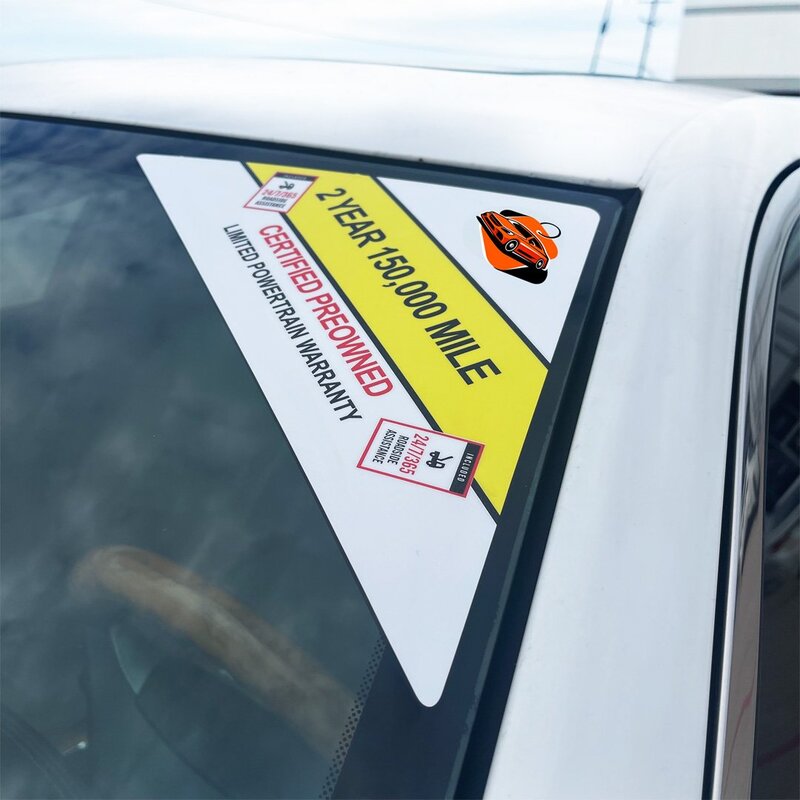
Introduction to Car Dealership Stickers
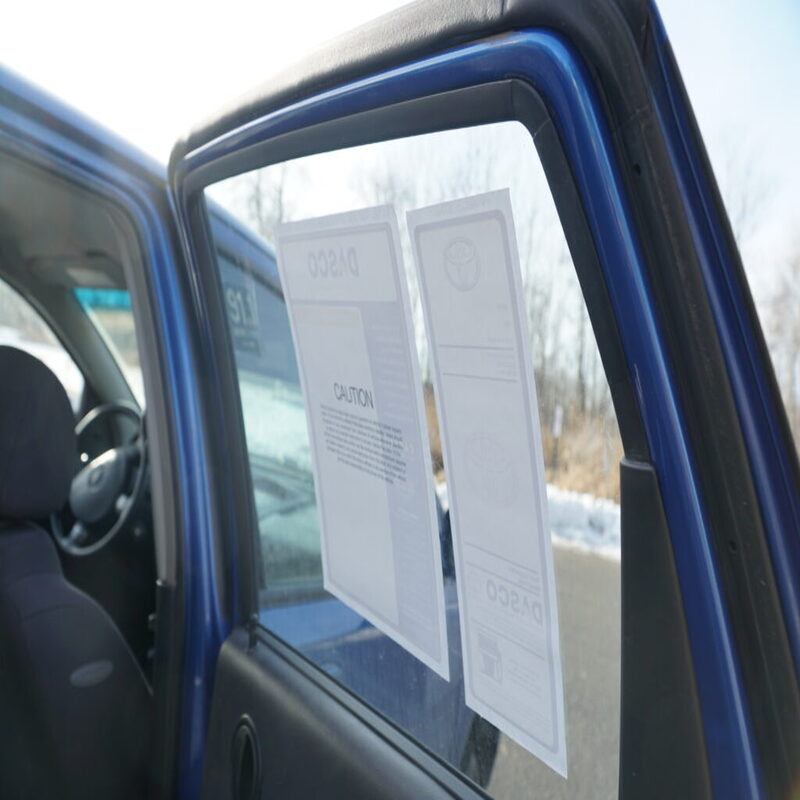
Car dealership stickers often come with any new vehicle. They promote the dealership, but may not suit your style. Over time, these stickers can become an eyesore. Thankfully, there are several methods to remove them. This post will guide you how to get dealership sticker off car. We’ll ensure your car’s paint stays safe during the process. Whether the stickers are for marketing or identification, it’s your choice to keep them or remove them.
Pre-Removal Preparations
Before you tackle the removal of your car dealership sticker, it’s critical to prepare. Doing so ensures a smooth process without damaging your car’s paint. Here’s what you need to do:
- Clean the Area: Begin by cleaning around the sticker with soapy water. This will prevent grime from scratching the paint during removal.
- Assemble Your Tools: Gather a hair dryer, plastic card, or floss for the process. Have adhesive remover and a clean cloth on hand for afterwards.
- Check the Weather: Opt for a warm, sunny day. Heat helps soften the adhesive, making removal easier.
- Consider the Sticker’s Age: Older stickers may have a more stubborn adhesive. This can require more patience and care.
- Decide on the Method: Choose between heat-base, freezing, or solvent methods. Each has its pros and cons, which we’ll discuss in upcoming sections.
With these preparations in place, you’re ready to move on to the next step of actually removing the sticker from your vehicle.
Heat-Based Sticker Removal Techniques
Removing car dealership stickers is a straightforward process with the right technique. Heat is a key ally in this endeavor. Heat softens the adhesive, allowing you to gently peel away the sticker. Here’s how to effectively use heat to remove those pesky stickers:
- Use a Hair Dryer or Heat Gun: Start by focusing warm air on the sticker. Keep the hair dryer or heat gun a few inches away to avoid damage.
- Gradual Heating: Slowly move the dryer or gun over the sticker. This evenly warms the adhesive without overheating.
- Gentle Peeling: Once the sticker feels warm, use a plastic card to lift the edges. Never rush this step.
- Increase Temperature if Necessary: If the sticker resists, increase the heat slightly. Repeat the gentle peeling.
- Pull Slowly: As the sticker lifts, pull it away slowly and evenly. Keep applying heat as you go.
- Avoid Overheating: Be cautious not to overheat the area, as this could harm your car’s paint.
- Final Checks: After removal, check for any discoloration or damage before proceeding.
By following these simple heat-based techniques, you can say goodbye to unwanted dealership stickers without leaving a mark on your car’s finish.
Alternative Freezing Method for Sticker Removal
For those having trouble with heat, consider the freezing method. It’s useful and safe for sticker removal. This technique uses cold to harden the adhesive. This makes it brittle, allowing for easier removal. Here’s a step-by-step guide:
- Clean the Sticker Area: Start with a clean surface. Use soapy water to wash around the sticker.
- Apply Ice: Wrap ice in a cloth and press it against the sticker. This cools the adhesive fast.
- Wait for the Adhesive to Harden: Keep the ice in place until the sticker feels cold.
- Lift the Edges: Once the sticker is cold, use a plastic card to pry up the edges.
- Peel the Sticker Off: Work slowly to remove the sticker. The cold should make it snap off.
- Clean Any Residue: After removal, there might be some adhesive left. Use a clean cloth to wipe it.
- Wash the Area Again: To finish, clean the surface one more time. Ensure no adhesive remains.
This cold approach can be gentler on your car’s paint. It’s worth trying if the heat method fails or if you’re wary of heat damage. Remember the key is patience during the process to protect your car’s finish.
Solvents and Rubbing Alcohol Use
Removing stickers from your car can often leave behind stubborn adhesive. Sometimes heat or ice won’t do the trick, and that’s where solvents come in. Solvents, like rubbing alcohol, can dissolve the remaining glue, making it easier to wipe away. Let’s break down the steps to use solvents safely:
- Choose the Right Solvent: Rubbing alcohol works well, but always dilute it to prevent paint damage.
- Test a Small Area: Apply a little solvent to a hidden part of your car first. Ensure it doesn’t harm the paint.
- Apply Solvent Carefully: Dab solvent onto a cloth. Gently rub it on the sticky residue.
- Wait for the Reaction: Let the solvent sit briefly. It needs time to break down the adhesive.
- Wipe Off the Adhesive: Use a clean cloth to remove the loosened glue. Repeat if necessary.
- Rinse Quickly: After cleaning, rinse the area with water. This stops the solvent from affecting the paint.
- Dry the Surface: Pat the area with another clean cloth to prevent water spots.
- Check for Damage: Make sure there’s no harm to your car’s finish after the process.
Be cautious when using solvents to prevent damage to your car’s paintwork. Take care, work slowly, and your car will be free of adhesive with no trace of the dealership sticker.
Cleaning Up Adhesive Residues
After removing the dealership sticker, you might notice sticky adhesive residues. Don’t worry, cleaning this up is simple. Follow these straightforward steps:
- Apply Adhesive Remover: Pick a quality adhesive remover. Goo Gone or 3M Adhesive Remover are good choices.
- Use a Soft Cloth: Dampen a microfiber cloth with the remover. Apply it to the residue.
- Let It Sit: Allow the remover to soak in for a few minutes. It needs time to work.
- Gentle Rubbing: Rub the area gently with the cloth in a circular motion.
- Wipe Clean: Use a fresh cloth to remove the now-loosened adhesive.
- Repeat if Needed: Some residues may need a second application. Be patient and repeat.
- Wash the Area: Rinse off any remaining adhesive remover with soapy water.
- Dry Off: Dry the cleaned area with another clean microfiber towel to avoid water spots.
By using these steps, you can clean off any remaining sticky spots safely and effectively.
Preventive Measures for Future Sticker Placement
Avoiding the hassle of removing stickers in the future can be as simple as taking preventive steps now. Here’s what you can do to streamline sticker removal later on, or prevent the need for it altogether:
- Use Protective Wax: Before placing any stickers, apply a protective wax layer. This creates a barrier between the sticker adhesive and your car’s paint.
- Choose Window Placement: If possible, put stickers on car windows rather than paint. Glass surfaces are less susceptible to damage during removal.
- Opt for Removable Stickers: Some stickers are designed for easy removal. Look for these when choosing decals and avoid those that are permanent.
- Remove Quickly: The longer a sticker stays on, the harder it is to remove. Take off any unwanted decals as soon as possible to avoid strong adhesive bonds.
- Avoid Direct Sunlight: Park in the shade to prevent the adhesive from bonding too tightly due to heat. Over time, heat can make stickers harder to remove.
By following these preventive measures, you can save time and maintain the flawless appearance of your car. It’s a proactive step towards less stress when it’s time to remove any form of decoration or branding.
Conclusion: Maintaining Your Car’s Appearance Post-Sticker Removal
Removing dealership stickers can refresh your car’s look. Now that they’re gone, let’s keep it looking sharp. Follow these tips: Wash the car regularly to keep paint in top shape. Apply wax or sealant for added protection. Touch up any blemishes to preserve the finish. Watch out for new stickers, and if you must apply them, use the preventive measures we discussed. Your car is more than transport; it’s a personal statement. Keep it clean and sticker-free for the best impression. And remember, the effort today saves work tomorrow, keeping your car’s appearance as good as new.