In the realm of automotive protection, car window covers stand as a versatile and cost-effective solution for shielding your vehicle’s interior from the sun’s harmful rays, preventing privacy intrusions, and safeguarding against theft. While purchasing pre-made car window covers is a convenient option, crafting your own offers a unique opportunity to customize protection and personalize your vehicle’s style. This comprehensive guide delves into the world of DIY car window covers, empowering you to create effective and stylish barriers for your beloved car.

I. Introduction: Embracing the DIY Approach
A. The Benefits of DIY Car Window Covers: Embarking on the DIY route for car window covers presents several advantages. Customization allows you to tailor the covers to your specific vehicle’s dimensions and preferences, ensuring a snug fit and optimal protection. Unlike pre-made options with generic sizes, DIY car window covers can perfectly hug the unique contours of your car’s windows, eliminating gaps that could allow sunlight or dust to enter. Additionally, DIY car window covers offer a cost-effective alternative to pre-made options, allowing you to stretch your budget further. By selecting affordable materials and utilizing basic sewing skills (or alternative methods like heat sealing), you can create effective car window covers at a fraction of the cost.
B. Considerations Before You Begin: Before diving into the DIY process, it’s crucial to assess your vehicle’s window shapes and sizes. Take accurate measurements of each window, noting any unique contours or curves. Pay close attention to details like window moldings or slight angles, as these can impact the fit of the final covers. Consider the desired level of protection and the materials that best suit your needs. If your primary concern is sun protection and privacy, lightweight, breathable fabrics are ideal. For added security against theft, opt for heavier, more durable materials.
II. Gathering the Essential Supplies
A. Materials: The choice of materials depends on the intended use and desired aesthetics. Here’s a breakdown of popular options and their benefits:
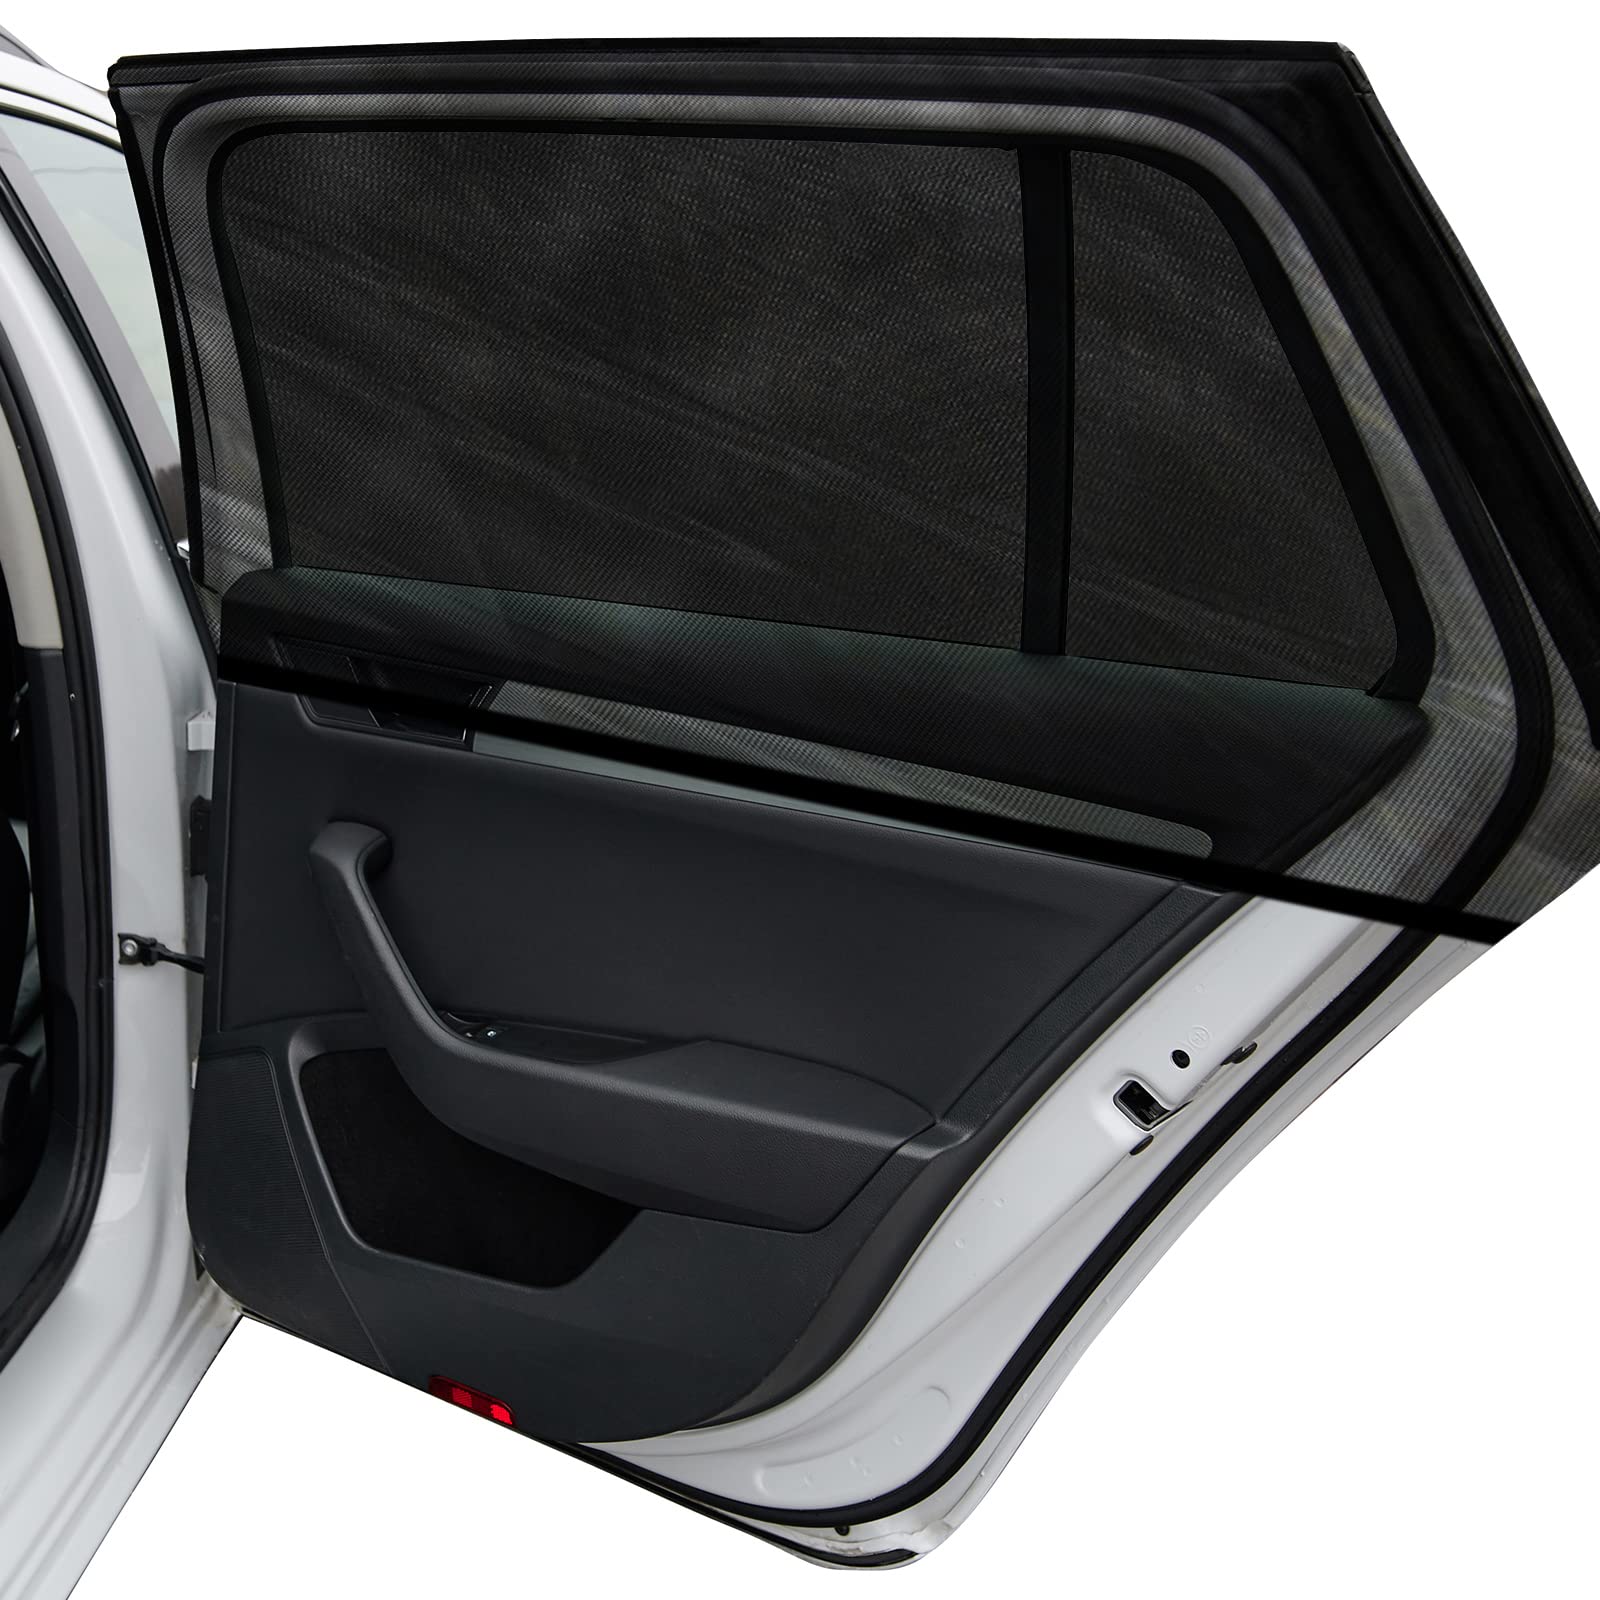
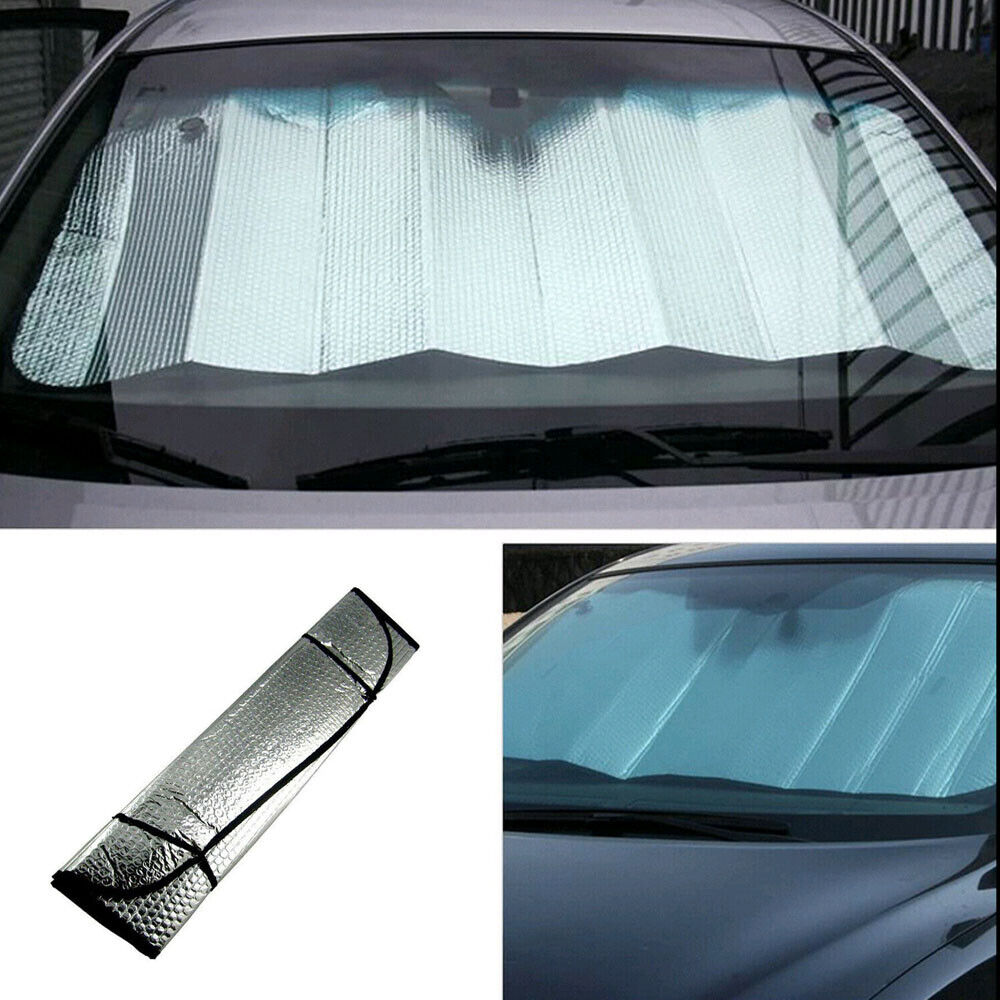
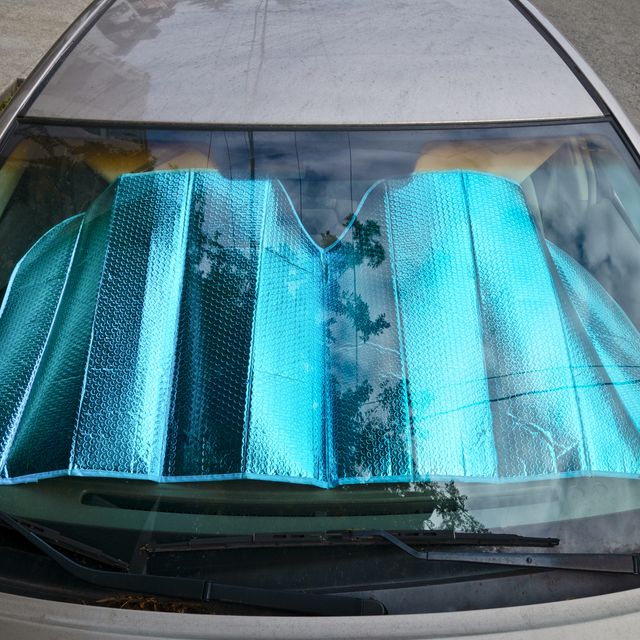
- Lightweight Fabrics: For sun protection and privacy, consider lightweight, reflective fabrics like blackout curtains or metallic-coated materials. Blackout curtains offer excellent sun protection and come in various colors or patterns to complement your style. Metallic-coated materials provide superior heat reflection and can add a sleek, modern look to your car.
- Heavyweight Fabrics: For added security against theft, opt for heavier, more durable fabrics like vinyl or canvas. Vinyl offers excellent weather resistance and can withstand rain, snow, and even minor scratches. Canvas provides a more traditional look and is relatively easy to work with, making it a good choice for beginners.
B. Tools and Equipment: Assemble the necessary tools to ensure a smooth and efficient DIY process. Here’s a list of essentials:
- Measuring Tape: A reliable measuring tape is crucial for taking accurate window measurements.
- Scissors: Sharp scissors or a rotary cutter will ensure clean and precise fabric cuts.
- Sewing Machine (Optional): If your chosen material requires sewing, a sewing machine will be necessary to assemble the car window covers.
- Pins: Pins will help hold the fabric pieces in place while cutting and sewing.
- Sturdy Work Surface: A flat and stable work surface is essential for laying out the fabric, cutting, and assembling the car window covers.
- Additional Tools (Optional): Consider using additional tools like a rotary cutter for smoother fabric cuts or a hot glue gun for a non-sewing method of assembling the covers (applicable for specific materials).

III. Measuring and Pattern Making
A. Precise Measurements: Accurately measure each window, taking into account any curves or angles. Don’t forget to factor in window moldings or slight inclines that might affect the fit. It’s always better to measure twice to ensure accurate dimensions.
B. Creating the Patterns: Use the measurements to create paper patterns for each window. Trace the window shapes onto paper, leaving an extra inch or two around the perimeter to allow for seams and a snug fit. For windows with curved edges, consider using cardboard or a flexible material to create the pattern. Cardboard is easy to shape and allows for a more accurate representation of the window’s curvature.
IV. Cutting and Shaping the Fabric
A. Laying Out the Fabric: Lay out the chosen fabric on your flat work surface, ensuring it’s large enough to accommodate all the window patterns you created. Smooth out any wrinkles or folds in the fabric to ensure precise cutting.
B. Cutting the Fabric: Carefully place the paper patterns onto the fabric and secure them with pins. Using sharp scissors or a rotary cutter, cut along the traced lines, ensuring smooth, even cuts. Leave the extra inch of allowance around the perimeter for seams or folding. For curved edges, use small snips along the curve to allow for better shaping without compromising the overall size of the cover.
V. Assembling and Sewing (Optional)
A. Heat Sealing (Non-Sewing Method): For non-woven fabrics like vinyl or canvas, consider heat sealing the edges instead of sewing. This method offers a quicker and easier alternative for those who might not be comfortable with sewing. Use a hot glue gun set to a low or medium heat setting. Carefully apply a thin bead of hot glue along the raw edges of the fabric, folding the extra allowance inwards as you go. Press the glued edges firmly together to create a secure and water-resistant seal. Repeat the process for all the car window covers.
B. Sewing Method: For fabrics that require sewing, place the cut fabric pieces right sides together and pin them along the edges. Ensure the extra allowance for seams is folded inwards before pinning. Using a sewing machine set to a straight stitch with a medium stitch length, sew along the pinned edges, leaving a small opening (around 2-3 inches) on one side for turning the cover inside out. Trim any excess fabric close to the stitching. Carefully turn the cover right side out through the opening. Use an invisible stitch or hand sewing to close the opening securely.
VI. Customizing and Enhancing
A. Personalizing the Covers: Now that you have functional car window covers, unleash your creativity and personalize them to match your style. Here are some ideas:
- Embroidery: Add a touch of elegance by embroidering your initials, your car’s name, or a fun design onto the covers. This can be done by hand or using an embroidery machine.
- Fabric Markers or Paint: Use fabric markers or paint specifically designed for fabric to create unique patterns, logos, or even inspirational quotes on your car window covers.
B. Enhancing Functionality: Consider adding features to improve the functionality of your car window covers:
- Reflective Strips: For increased nighttime visibility, especially while parked on the street, sew or stick on reflective strips to the edges of the car window covers. This enhances safety and deters potential theft attempts.
- Grommets: For added security in windy conditions, consider installing grommets along the top or bottom edges of the covers. Use tie-down straps (sold separately) to secure the covers to the car’s interior or door handles, preventing them from blowing off.
VII. Installation and Proper Usage
A. Installation: Carefully position each car window cover over its respective window, aligning the edges with the window frame. Smooth out any wrinkles or folds to ensure a snug fit. For covers with heat-sealed edges, press them firmly against the window frame to create a secure seal. For covers with tie-down straps, secure them to the designated points inside the car.
B. Proper Usage: When not in use, store your car window covers in a cool, dry place to prevent damage and extend their lifespan. Fold them neatly or roll them up for compact storage. Clean the covers regularly using a mild detergent solution and water to remove dust, dirt, or any accumulated grime. Allow the covers to dry completely before storing them again.
VIII. Safety Considerations
A. Obstructed Vision: Ensure the car window covers do not obstruct the driver’s vision while operating the vehicle. Safety should always be the top priority. Adjust the covers or remove them if necessary to maintain a clear view of the road and surrounding traffic.
B. Ventilation: For extended periods of parking, especially on hot days, consider leaving small gaps or vents in the car window covers, particularly near the bottom edges. This allows for proper air circulation and prevents moisture buildup inside the vehicle, which can lead to mold or mildew growth.
IX. Conclusion: A DIY Shield for Your Vehicle
Crafting your own car window covers empowers you to create a personalized and effective solution for protecting your vehicle’s interior. By following these steps and using your creativity, you can craft car window covers that not only shield your car from sun damage, privacy intrusions, and theft attempts, but also reflect your unique style. With a little planning, effort, and these helpful tips, you can transform affordable materials into a valuable asset that keeps your car cool, protected, and ready for your next adventure.