I. Introduction
A. The Unforeseen Flat Tire: A Common Roadside Dilemma
Navigating the open road, the thrill of the journey can be abruptly interrupted by the dreaded sight of a flat tire. Whether caused by a hidden nail, a jagged rock, or an unforeseen pothole, a flat tire can bring your journey to a standstill, leaving you stranded and potentially vulnerable.
The inconvenience of a flat tire extends beyond the disruption to your travel plans. It can also pose safety hazards, especially if the incident occurs on a busy highway or in low-visibility conditions. Being prepared to address tire punctures is essential for ensuring a safe and enjoyable driving experience.
B. The Art of Tire Patching: A DIY Solution for Minor Punctures
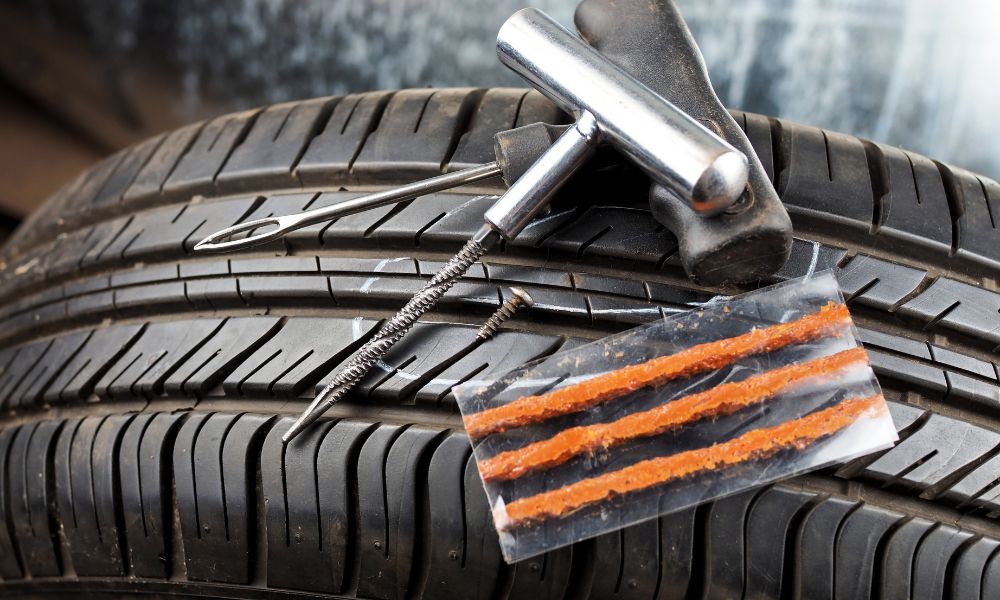
While a flat tire may seem like a cause for immediate panic, there’s a solution that often goes overlooked: tire patching. This DIY approach offers a convenient and cost-effective way to repair small punctures and restore roadworthiness, allowing you to get back on the road without the need for roadside assistance or expensive tow truck bills.
Tire patching is particularly suitable for minor punctures, typically caused by small objects like nails or screws. These punctures typically penetrate the tire’s tread area, leaving the sidewall intact. For larger punctures or sidewall damage, professional repair is always recommended.
C. Gathering the Necessary Tools and Materials: Preparing for the Repair
Before embarking on your tire patching adventure, it’s crucial to gather the necessary tools and materials to ensure a successful and safe repair. Here’s a checklist of essential items:
-
Tire Repair Kit: Invest in a high-quality tire repair kit, which typically includes a variety of patches, adhesives, tools, and instructions.
-
Jack and Jack Stands: A sturdy jack is essential for safely raising the vehicle and supporting it on jack stands while you work on the tire.
-
Lug Wrench: This tool is used to loosen and tighten the lug nuts that secure the tire to the wheel hub.
-
Valve Core Remover: This tool allows you to release the remaining air pressure from the tire before patching.
-
Wire Brush or Sandpaper: Use these tools to clean the area around the puncture, ensuring a strong bond for the patch.
-
Sharp Knife or Scissors: These are needed to trim any excess patch material after application.
-
Air Compressor or Tire Pump: This will be used to reinflate the tire to the recommended pressure once the patch is in place.

II. Assessing the Damage: Determining the Patching Method
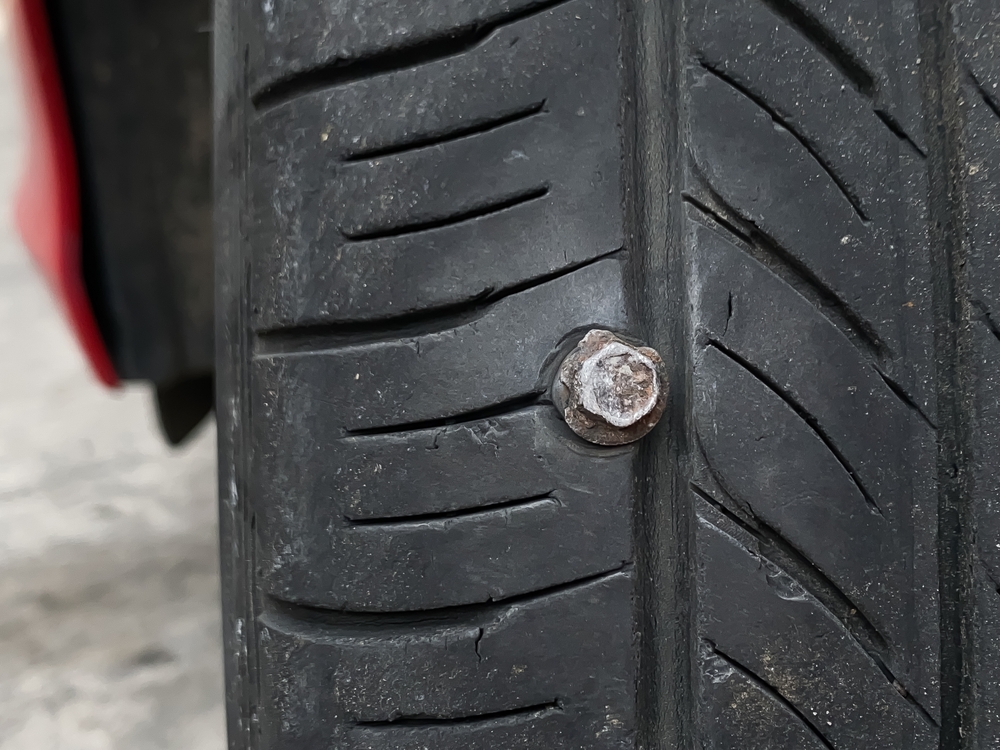
A. Identifying the Puncture: Locating the Source of the Air Leak
The first step in patching a tire is to locate the puncture. Inspect the tire carefully, looking for any visible signs of damage, such as a protruding nail or screw. If the puncture is not immediately apparent, submerging the tire in a tub of soapy water can help pinpoint the leak location.
B. Evaluating the Puncture Size: Determining Patch Suitability
Once you’ve identified the puncture, assess its size. Tire repair kits typically specify the maximum puncture diameter suitable for patching. If the puncture exceeds this limit or appears on the tire’s sidewall, professional repair is necessary.
C. Considering Sidewall Damage: Seeking Professional Assistance
Sidewall punctures are particularly dangerous and should never be attempted as a DIY repair. The sidewall is the weakest part of the tire and plays a crucial role in maintaining tire integrity and vehicle stability. Attempting to patch a sidewall puncture could lead to further damage, potential tire failure, and serious safety hazards.
III. Preparing the Tire for Patching: Cleaning and Preparation
A. Removing the Tire: Safely Detaching the Tire from the Vehicle
Before you can begin patching the tire, it needs to be removed from the vehicle. Using the jack, carefully raise the car until the tire is a few inches off the ground. Secure the vehicle on jack stands to ensure stability.
Loosen the lug nuts using the lug wrench, but don’t remove them completely. Once the nuts are loose, you can fully remove the tire from the wheel hub.
B. Deflating the Tire: Releasing the Remaining Air Pressure
With the tire removed, locate the valve stem, which is the small metal protrusion where you would normally check or add air pressure. Using the valve core remover, carefully unscrew the valve core, allowing the remaining air to escape.
Deflate the tire slowly and gradually to prevent sudden air bursts that could cause injury or damage.
C. Cleaning the Puncture Area: Preparing the Surface for Adhesion
Once the tire is deflated, it’s time to prepare the puncture area for the patch. Use a wire brush or sandpaper to thoroughly clean the area around the puncture, removing any dirt, debris or rust that might hinder the patch’s adhesion. Ensure you clean a slightly larger area than the patch itself to create a strong bond.

IV. Applying the Tire Patch: Sealing the Puncture
A. Selecting the Appropriate Patch: Choosing the Right Size and Type
Your tire repair kit will likely come with different types of patches. Here’s how to choose the right one:
-
Patch Size: Match the patch diameter to the puncture size you identified earlier. Most kits offer a variety of patch sizes to accommodate different puncture diameters.
-
Patch Type: Two common types of patches are plug patches and stem-type patches. Plug patches are typically used for punctures in the tread area, while stem-type patches are better suited for larger punctures or those closer to the sidewall (but still within the repairable tread area). Consult the kit instructions for specific recommendations based on your puncture location and size.
B. Applying the Patch Adhesive: Preparing the Patch for Bonding
Most tire repair kits include a special adhesive designed to create a strong bond between the patch and the tire. Following the kit’s instructions, spread a thin layer of the adhesive around the puncture hole, ensuring it covers a slightly larger area than the patch itself. This creates a wider sealing surface for optimal results.
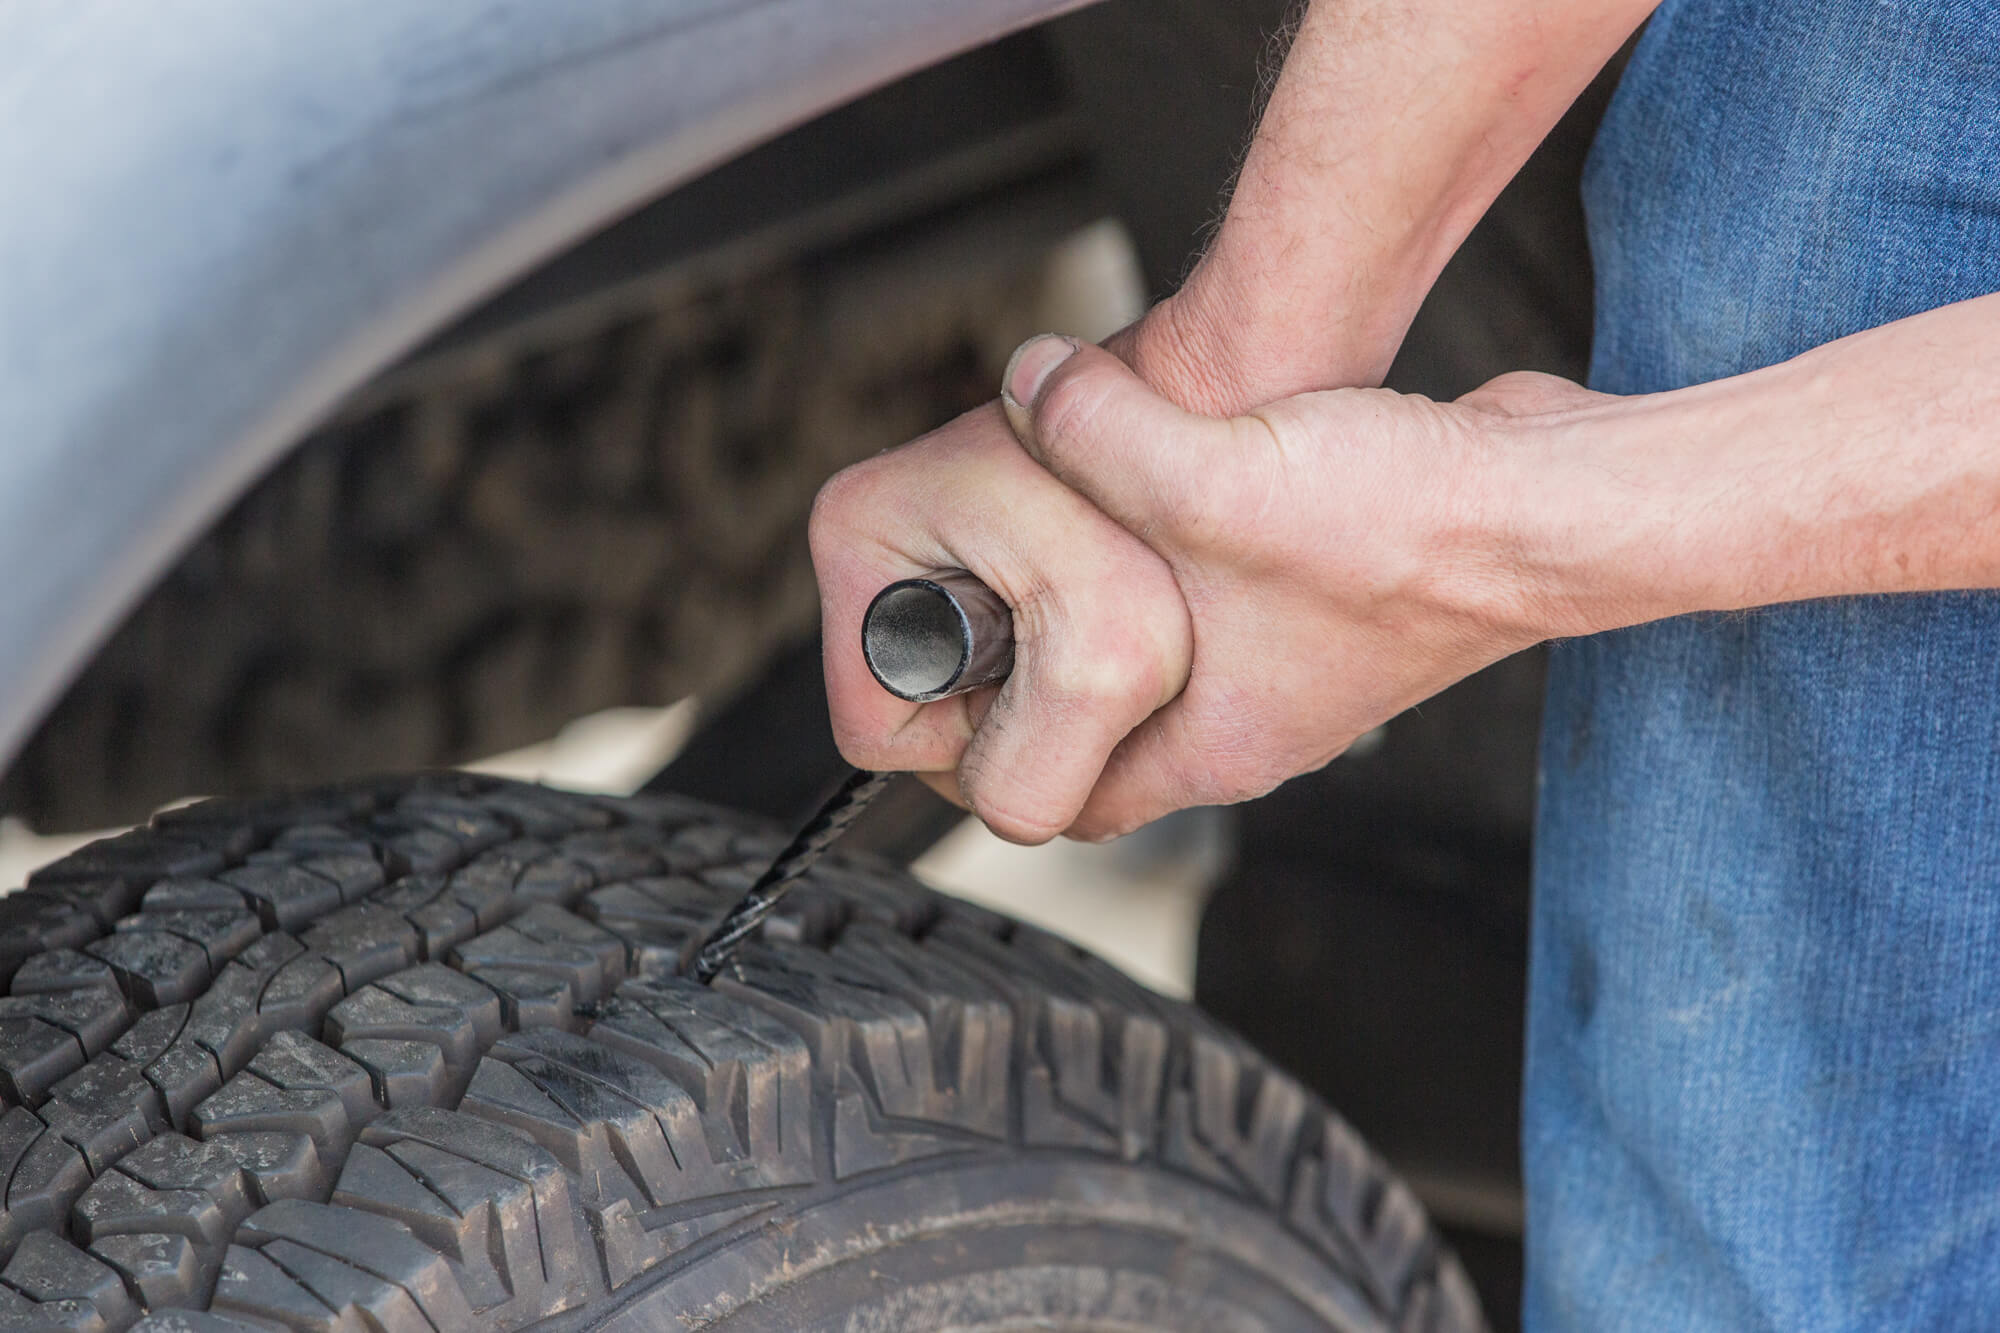
C. Inserting the Patch: Sealing the Puncture and Restoring Airtightness
Once the adhesive is applied, carefully insert the chosen patch into the puncture hole. Depending on the patch type, you may need to use a special insertion tool provided in the kit. Ensure the patch is completely inserted and adheres properly to the cleaned and adhesive-coated area.
Press firmly on the patch for a few seconds to create a strong bond with the tire. Some patches may require a specific curing time before proceeding. Refer to the kit’s instructions for details.
V. Finishing Touches: Completing the Tire Repair
A. Trimming Excess Patch Material: Removing Unnecessary Overlap
Once the patch is securely in place and any curing time has elapsed, you might need to trim any excess patch material that extends beyond the edges of the puncture hole. Use a sharp knife or scissors to carefully remove this excess material, creating a smooth and flush finish.
Leaving excess patch material can cause irritation or wear during tire rotation or use. A clean and flush finish ensures a professional look and optimal performance.
B. Reinflating the Tire: Restoring Air Pressure to the Recommended Level
With the patch securely applied and trimmed, it’s time to reinflate the tire. Locate the valve stem again and screw the valve core back into place. Now, connect your air compressor or tire pump to the valve stem and begin inflating the tire.
Always inflate the tire to the recommended air pressure specified in your vehicle’s owner’s manual or on the placard located on the driver’s door jamb. Never exceed the recommended pressure limit for your specific tire size.
C. Remounting the Tire: Securing the Tire Back on the Wheel Hub
Carefully lift the repaired tire and align it with the wheel hub. Ensure the valve stem is positioned correctly in the designated hole on the rim. Now, screw the lug nuts back onto the studs by hand, tightening them in a star pattern. This ensures even distribution of force across the entire wheel hub.
VI. Safety Precautions and Additional Considerations
A. Prioritizing Safety: Working in a Safe and Stable Environment
When patching a tire, safety is paramount. Choose a well-lit and level work area away from traffic and potential hazards. It’s also advisable to wear safety glasses and gloves to protect yourself from debris, sharp objects, or potential air bursts during tire deflation.
B. Seeking Professional Assistance for Complex Repairs
While tire patching can be a convenient solution for minor punctures, it’s important to recognize your limitations. If the puncture is large, located on the sidewall, or causes significant damage to the tire’s integrity, professional repair is always recommended.
Don’t attempt repairs beyond your skill level or when safety could be compromised. A qualified tire technician can assess the damage and recommend the most appropriate repair solution to ensure your safety on the road.
C. Regular Tire Maintenance: Preventing Future Punctures
Regular tire maintenance is essential for preventing future punctures and extending the lifespan of your tires. Here are some key practices:
-
Tire Inspections: Regularly inspect your tires for signs of wear, damage, or foreign objects embedded in the tread.
-
Proper Tire Pressure: Maintaining the recommended tire pressure not only improves fuel efficiency but also reduces the risk of punctures and blowouts.
-
Avoiding Overloading: Overloading your vehicle puts excessive strain on the tires, increasing the risk of damage and punctures.