Introduction: The Significance of Preserving Your Vehicle’s Exterior
In the world of automobiles, the exterior of your vehicle serves as its first impression, defining its overall look and appeal. However, the elements and everyday hazards can quickly take a toll on your car’s paint, leaving it vulnerable to scratches, chips, dents, and fading. Protecting this valuable asset is essential, not only to maintain its aesthetic beauty but also to preserve its resale value.
Understanding the Advantages of Car Body Film
Car body film, or PPF, has emerged as a popular choice for safeguarding vehicle paintwork, offering a range of benefits that extend beyond mere protection.
-
Shield against scratches, chips, and dents: PPF acts as a barrier against physical damage, deflecting flying debris, rocks, and other objects that could cause unsightly marks on your car’s paint.
-
Protection from UV rays and fading: The sun’s harsh UV rays can cause paint to fade and lose its luster over time. PPF provides a UV-resistant layer, preventing the paint from deteriorating and preserving its vibrant color.
-
Self-healing properties: Certain PPFs are formulated with self-healing technology, allowing them to repair minor scratches and blemishes caused by everyday wear and tear.
-
Enhanced resale value: Well-maintained paintwork can significantly boost a car’s resale value, making it a worthwhile investment. PPF helps preserve the paint’s condition, ensuring your car retains its appeal and value for years to come.
Exploring the Diverse Types of Car Body Film
The world of car body film offers a variety of options to suit diverse needs and preferences.
-
Clear bra: The most common type of PPF, offering a nearly invisible layer of protection that blends seamlessly with the car’s original paint.
-
Colored PPF: Provides a touch of color or customization while protecting the paint. Colored PPF can add a unique accent to your car’s exterior, complementing its overall design.
-
Textured PPF: Hides imperfections and adds a unique visual element to the car. Textured PPF can conceal minor scratches or dents, giving the car a subtly textured finish.
-
High-gloss PPF: Enhances the shine and reflectivity of the car’s paint. High-gloss PPF accentuates the car’s shine, making it stand out even more.
Choosing the Right Car Body Film for Your Needs
Selecting the right car body film for your vehicle depends on your individual needs and preferences.
-
Considering your budget: PPF prices can vary depending on the type and quality. Research different brands and installers to find the best value for your money.
-
Evaluating your car’s needs: Assess the level of protection required based on your driving habits and climate. If you frequently drive on rough roads or in harsh weather conditions, a thicker and more durable PPF might be necessary.
-
Seeking professional installation: Proper installation is crucial for optimal results. Choose a qualified and experienced installer who can ensure the PPF is applied correctly and adheres seamlessly to your car’s surface.
Gathering the Necessary Tools and Materials
Before embarking on the PPF application process, it’s essential to gather the necessary tools and materials to ensure a smooth and successful installation.
-
Car body film (PPF): Select the type of PPF that suits your preferences and vehicle’s needs, considering factors such as color, texture, and gloss level.
-
Application solution: Typically a mixture of water and isopropyl alcohol, this solution aids in the application process by facilitating the PPF’s adherence to the car’s surface.
-
Squeegee: A squeegee plays a crucial role in removing air bubbles and ensuring a smooth, even application of the PPF. Choose a squeegee with a soft, non-abrasive blade to prevent scratches.
-
Microfiber cloths: These lint-free cloths are essential for cleaning and drying the car’s surface, as well as for wiping away excess application solution.
-
Heat gun or hair dryer: A heat gun or hair dryer can be used to gently heat the PPF, making it more pliable and easier to work with, especially in colder temperatures.
-
Spray bottle: A spray bottle filled with the application solution allows for controlled and even distribution of the liquid onto the car’s surface and the PPF.
-
-
Scissors or a razor blade: These tools will be used for precisely cutting the PPF to the desired size and shape. Opt for a sharp pair of scissors or a fresh razor blade to ensure clean cuts.
-
Gloves: Wearing gloves protects your hands from cuts and helps maintain a clean working environment. Opt for nitrile gloves, which offer good dexterity and prevent the transfer of oils from your hands to the PPF.
Preparing the Vehicle for PPF Application
Thorough preparation of the car’s surface is critical for a successful PPF application. Here’s a breakdown of the essential steps:
-
Thoroughly wash and dry the vehicle: Eliminate any dirt, debris, or contaminants that could compromise the PPF’s adhesion. Use a car wash soap specifically designed for removing wax and other coatings. Rinse the car thoroughly and dry it completely with clean microfiber cloths.
-
Clean the surface area where the PPF will be applied: Utilize the application solution to clean the specific areas where the PPF will be installed. This step removes any remaining contaminants and ensures a clean surface for optimal adhesion.
-
Mask off any areas that should not be covered with PPF: Utilize masking tape to cover areas like lights, emblems, and other sections you don’t want the PPF to adhere to. This prevents accidental application and ensures a clean finish.
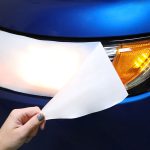
Applying the Car Body Film
Now that you’ve gathered the tools and prepared the car, it’s time for the actual application of the PPF. Here’s a step-by-step guide:
-
Cut the PPF to the desired size and shape:
-
Utilize a template or carefully measure the area to be covered. Employ the scissors or razor blade to precisely cut the PPF to the required size and shape.
-
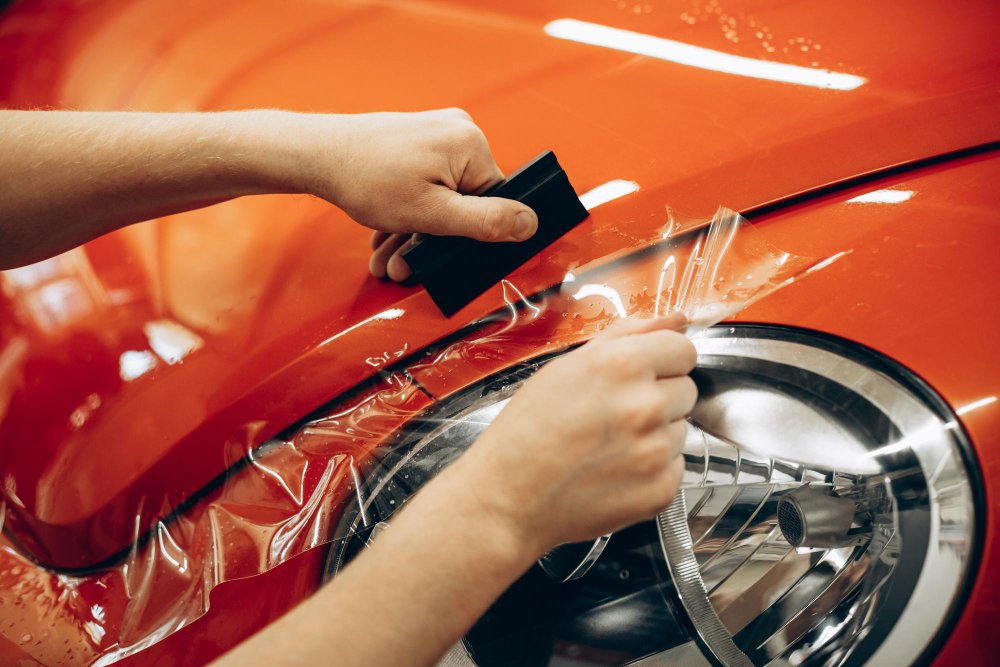
Peel off the backing liner from the PPF:
-
The PPF will have a backing liner that needs to be removed before application. Carefully peel off a small section of the liner, exposing the adhesive side of the PPF.
-
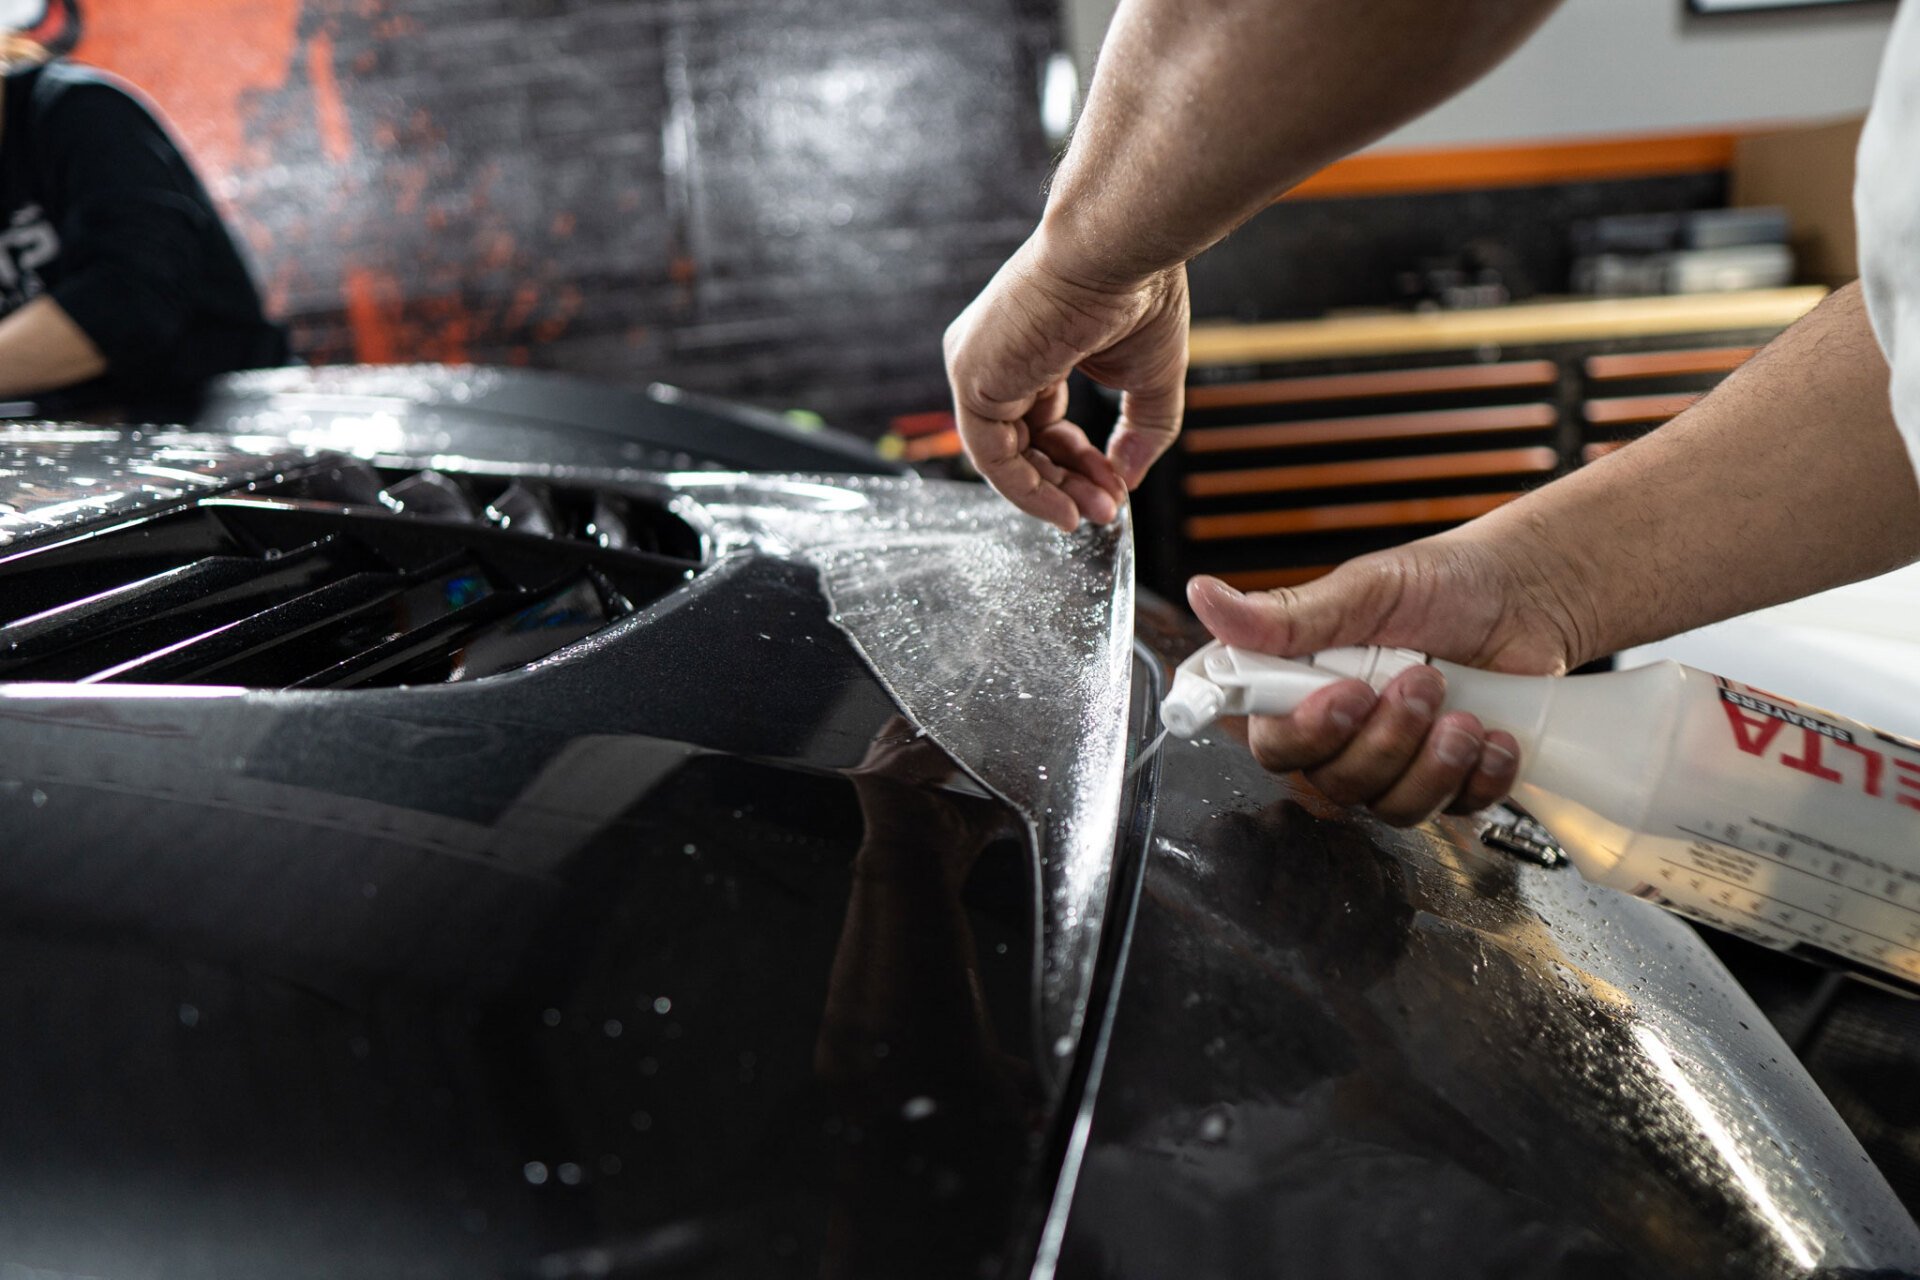
Spray the application solution onto the car’s surface and the PPF:
-
Using the spray bottle, mist the area on the car where the PPF will be applied with the application solution. Lightly spray the exposed adhesive side of the PPF as well. This solution allows for easier positioning and manipulation of the PPF.
-
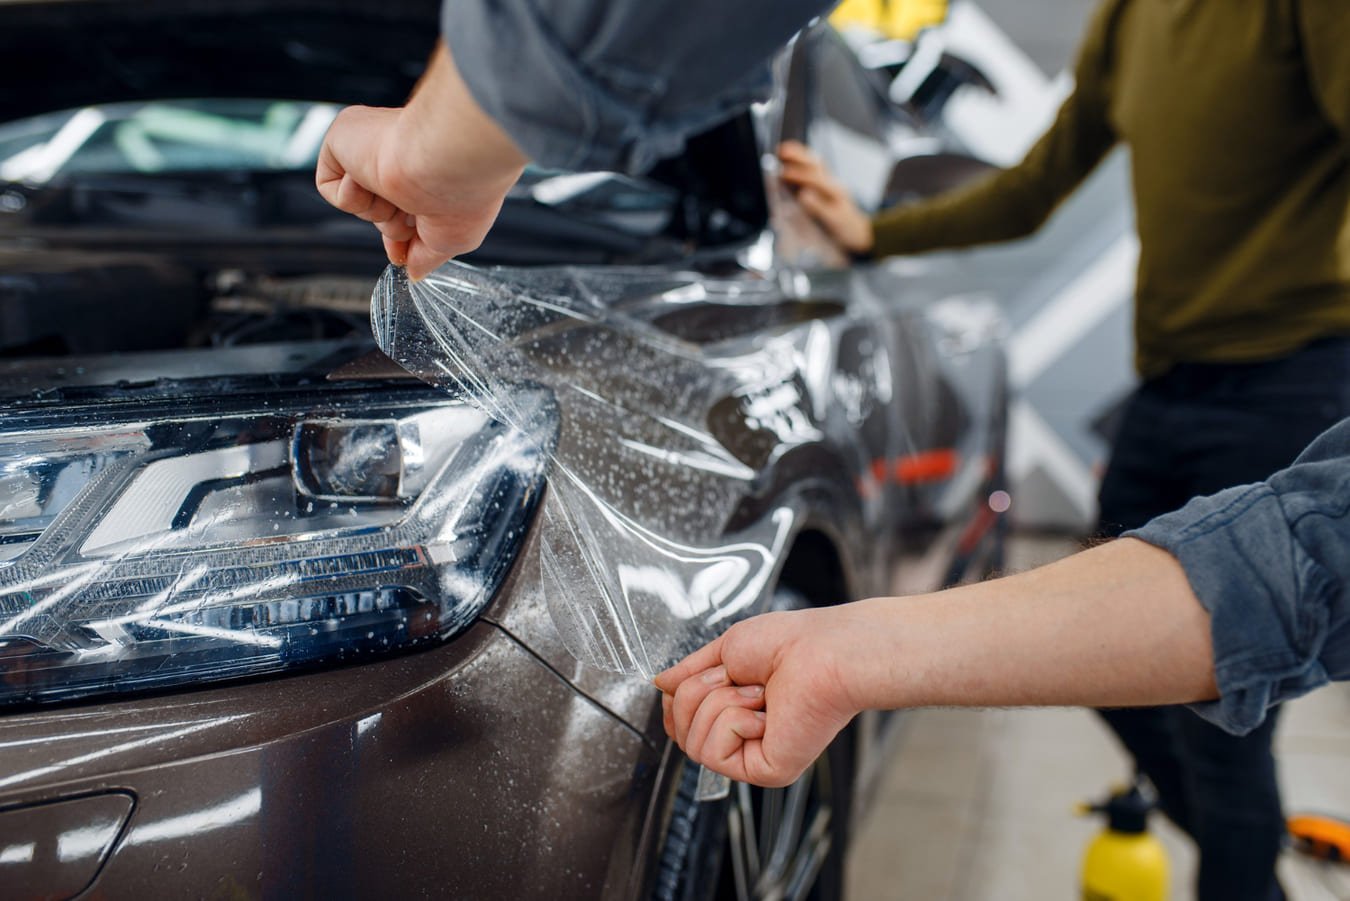
Carefully position the PPF onto the car’s surface:
-
Gently place the PPF onto the desired area of the car, aligning it precisely with the intended location. Start from one end and gradually work your way outwards, ensuring the PPF lays flat on the surface.
-
Use a squeegee to remove any air bubbles and ensure a smooth application:
-
Employ the squeegee to gently press the PPF onto the car’s surface. In addition, start from the center and work your way outwards. This action removes any air bubbles trapped between the PPF and the car’s paint, ensuring a smooth and seamless application.
-
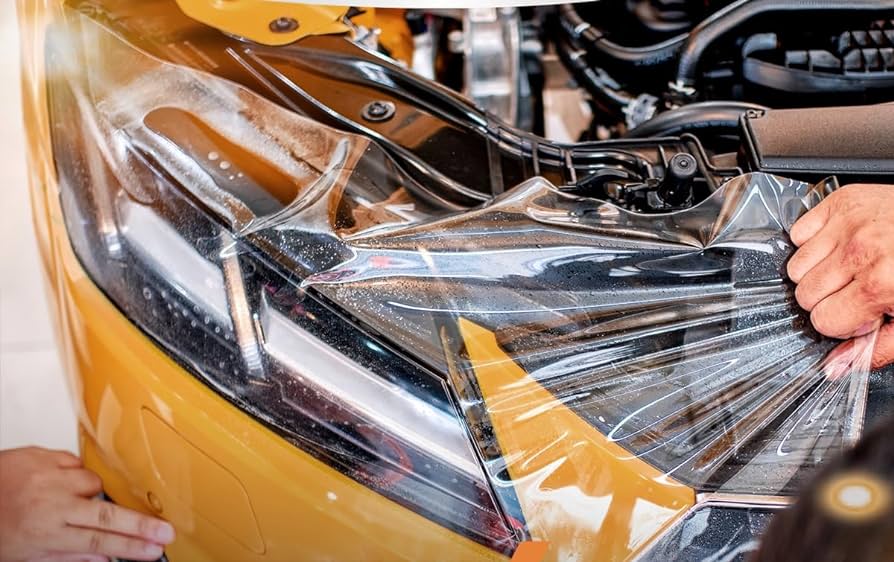
Use a heat gun or hair dryer to gently heat the PPF and aid in adhesion:
-
For stubborn bubbles or areas with complex curves, a heat gun or hair dryer can be used to gently warm the PPF. Additionally, this increases its flexibility and allows for easier manipulation to achieve a flawless application. However, be cautious and maintain a safe distance from the PPF to prevent overheating and damage.
-
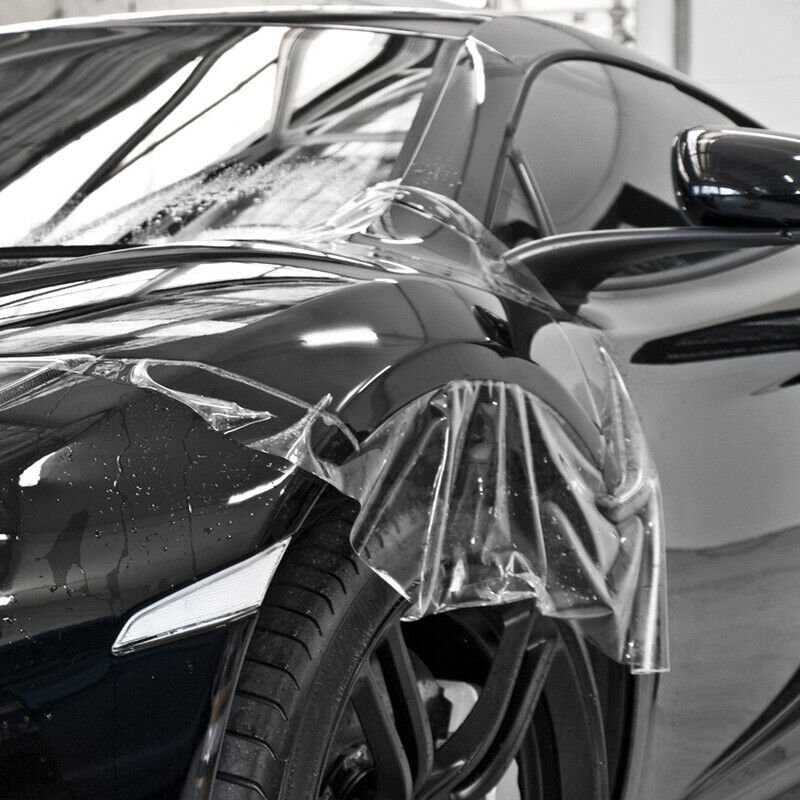
Trim any excess PPF around the edges:
-
Once the PPF is positioned and adhered, use the scissors or razor blade to carefully trim away any excess material around the edges. Aim for a clean and precise finish that seamlessly integrates with the car’s body lines.
Drying and Curing the Car Body Film
The final step involves allowing the PPF to dry and cure completely. Here’s what you need to do:
-
Allow the car body film to dry completely, typically within 24-48 hours: Patience is key during this stage. Avoid washing or driving the car during this drying period. The application solution needs time to evaporate, allowing the PPF to fully adhere to the car’s surface.
-
Avoid washing or driving the car during the drying period: Water and movement can disrupt the curing process and potentially compromise the adhesion of the PPF. Stick to the recommended drying time for optimal results.
-
Once dry, the car body film is fully cured and ready to protect your vehicle: After the designated drying period, the PPF will be fully cured and ready to shield your car’s paintwork from scratches, chips, and other hazards.
By following these steps and maintaining the car body film properly, you can ensure lasting protection for your vehicle’s exterior. Remember, proper care and maintenance go a long way in preserving the aesthetics and value of your car.
-