In today’s world, where dashcams are becoming increasingly ubiquitous, it’s crucial to understand the installation process to ensure proper functionality and optimal protection. This comprehensive guide will walk you through the steps of installing your dashcam, from gathering the necessary tools to securing the cables and testing the device.
1. Gather the Essential Tools and Materials
Before embarking on the installation journey, ensure you have the following tools and materials at your disposal:
- Your dashcam and its accompanying mounting bracket
- A power cable (typically included with the dashcam)
- A trim removal tool (optional but highly recommended)
- A screwdriver
- Pliers (optional)
- Cleaning cloth
- Microfiber cloth
2. Choose the Ideal Mounting Location
The optimal location for your dashcam is behind the rearview mirror, slightly to the right. This position provides a clear and unobstructed view of the road ahead while minimizing any potential distraction for the driver. Avoid mounting the dashcam directly in front of the driver, as it could impede their vision.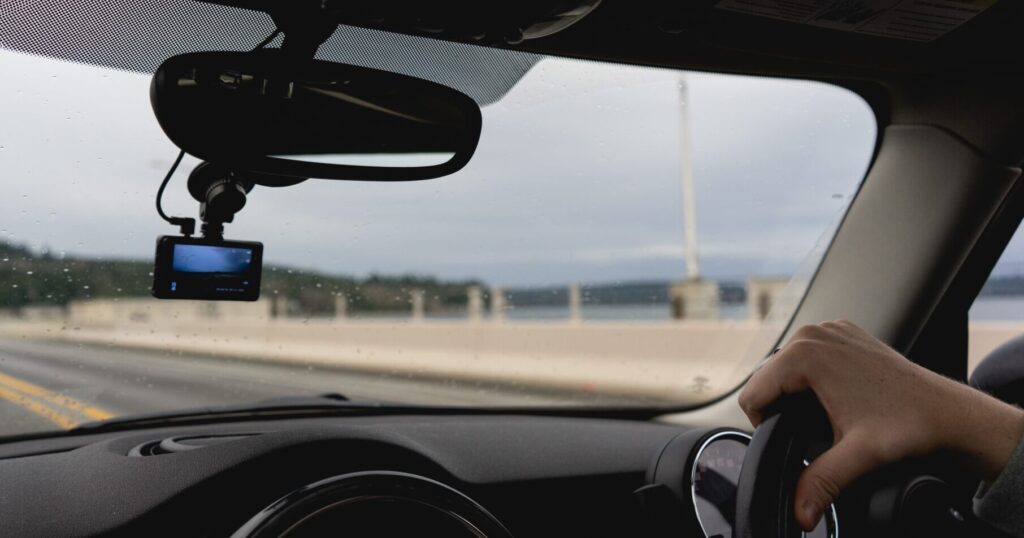
3. Prepare the Mounting Surface
Using a cleaning cloth and microfiber cloth, meticulously clean the area on the windshield where you intend to mount the dashcam. Ensure the surface is free of any dirt, grease, or residue that could compromise the adhesion of the mounting bracket.
4. Securely Attach the Mounting Bracket
Apply the double-sided adhesive tape to the bottom of the mounting bracket, following the instructions provided with your dashcam. Carefully position the mounting bracket on the cleaned windshield and press firmly to ensure a secure attachment. Allow the adhesive to cure completely, as indicated in the instructions.
5. Route the Power Cable with Precision
The power cable will connect your dashcam to your vehicle’s power source. Carefully route the cable along the trim panels and A-pillar of your vehicle, tucking it into crevices and behind panels to maintain a clean and concealed appearance.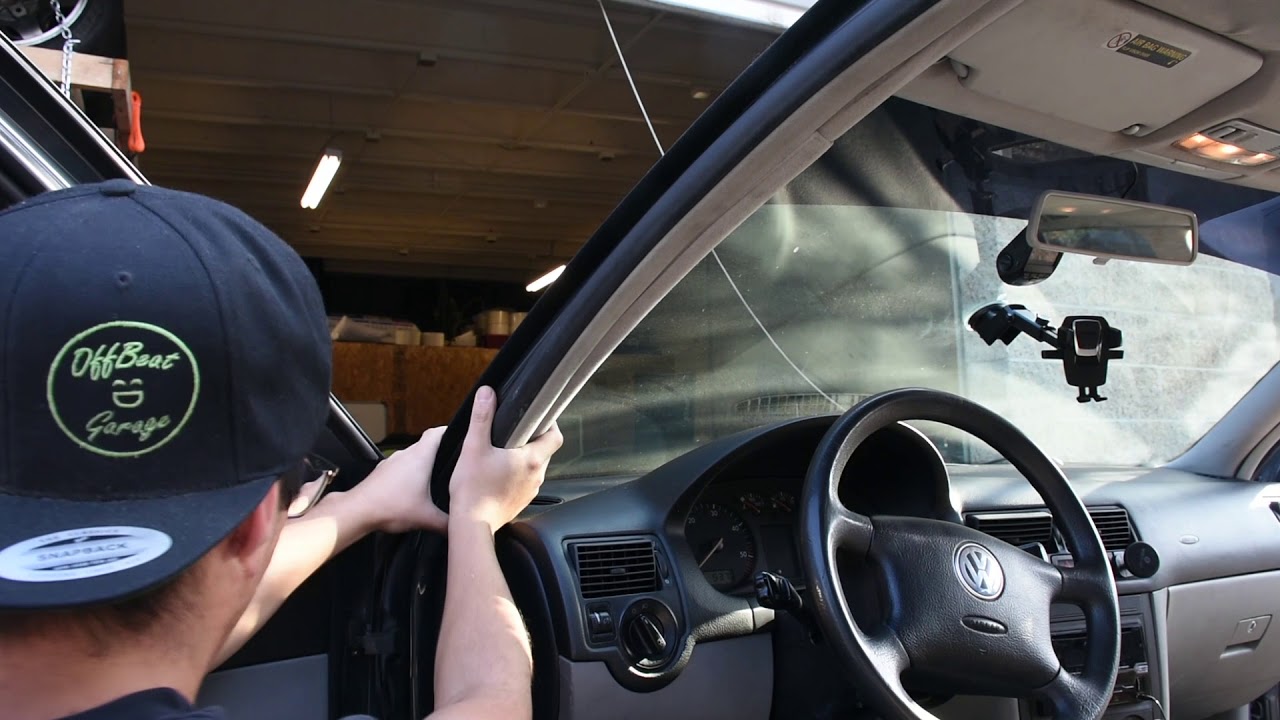
6. Connect the Power Cable to the Vehicle’s Power Source
Locate your vehicle’s fuse box, typically found under the dashboard or near the glove compartment. Consult your vehicle’s owner’s manual to identify the appropriate fuse for connecting the dashcam.
7. Attach the Dashcam to the Mounting Bracket
Align the dashcam with the mounting bracket and slide it into place until it clicks securely. Ensure the dashcam is positioned at the desired angle to capture the optimal field of view.
8. Connect the Power Cable to the Dashcam
Plug the power cable connector into the corresponding port on the dashcam. Some dashcams may require additional connections, such as a USB cable for data transfer.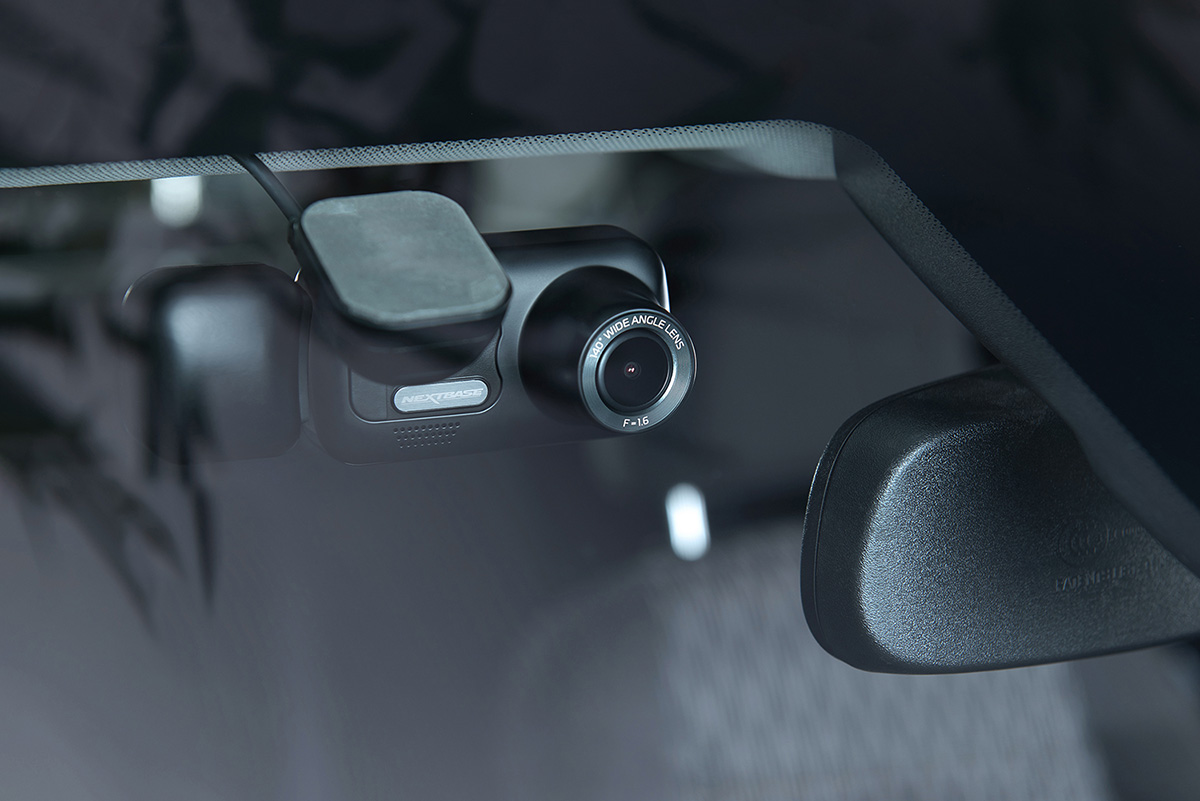
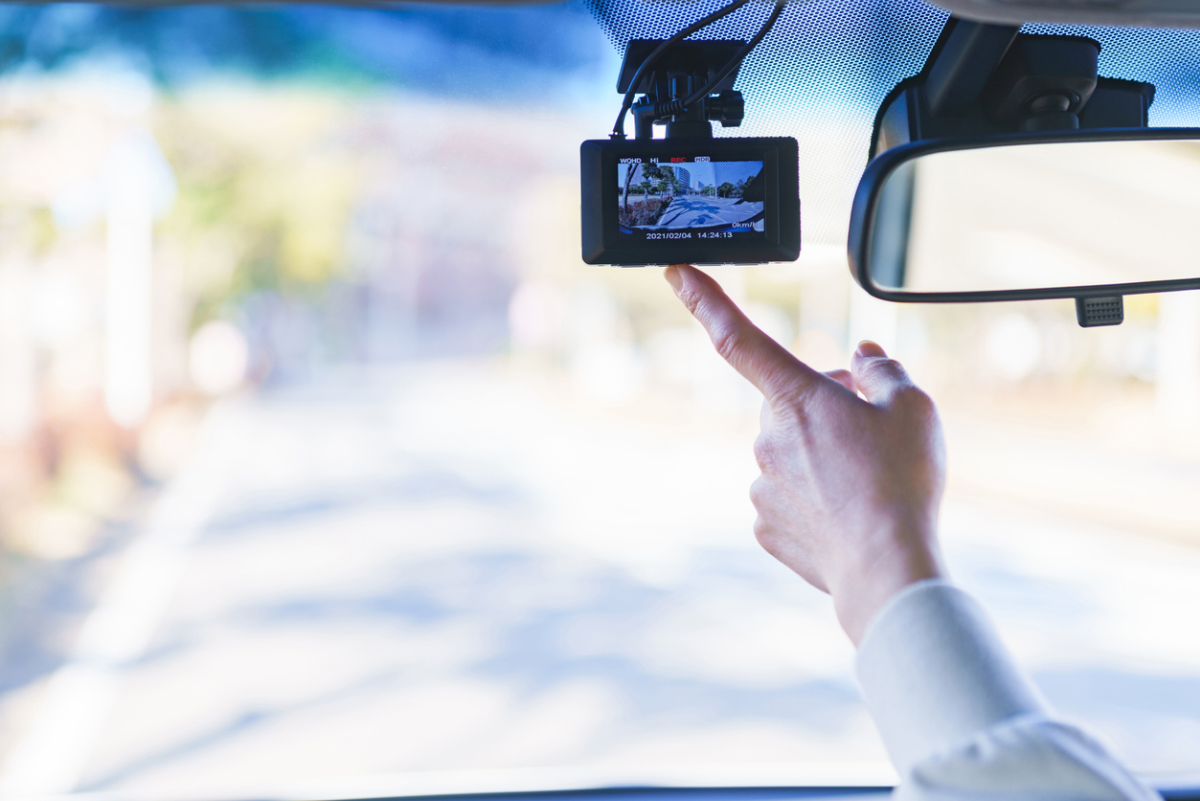
9. Test the Dashcam for Proper Functionality
Turn on your vehicle’s ignition and start the dashcam. Verify that the power indicator light is on and that the dashcam is recording footage. Adjust the camera angle and settings as needed to ensure optimal performance.
10. Secure Loose Cables for a Clean Appearance
Utilize zip ties or other cable management solutions to secure any loose cables along the routing path. This will prevent the cables from dangling or interfering with driving operations.
11. Enjoy the Protection of Your Newly Installed Dashcam
With your dashcam properly installed and functioning, you can now drive with peace of mind, knowing that you have a valuable tool for capturing events on the road. Remember to regularly check the footage and format the SD card to ensure optimal performance and storage capacity.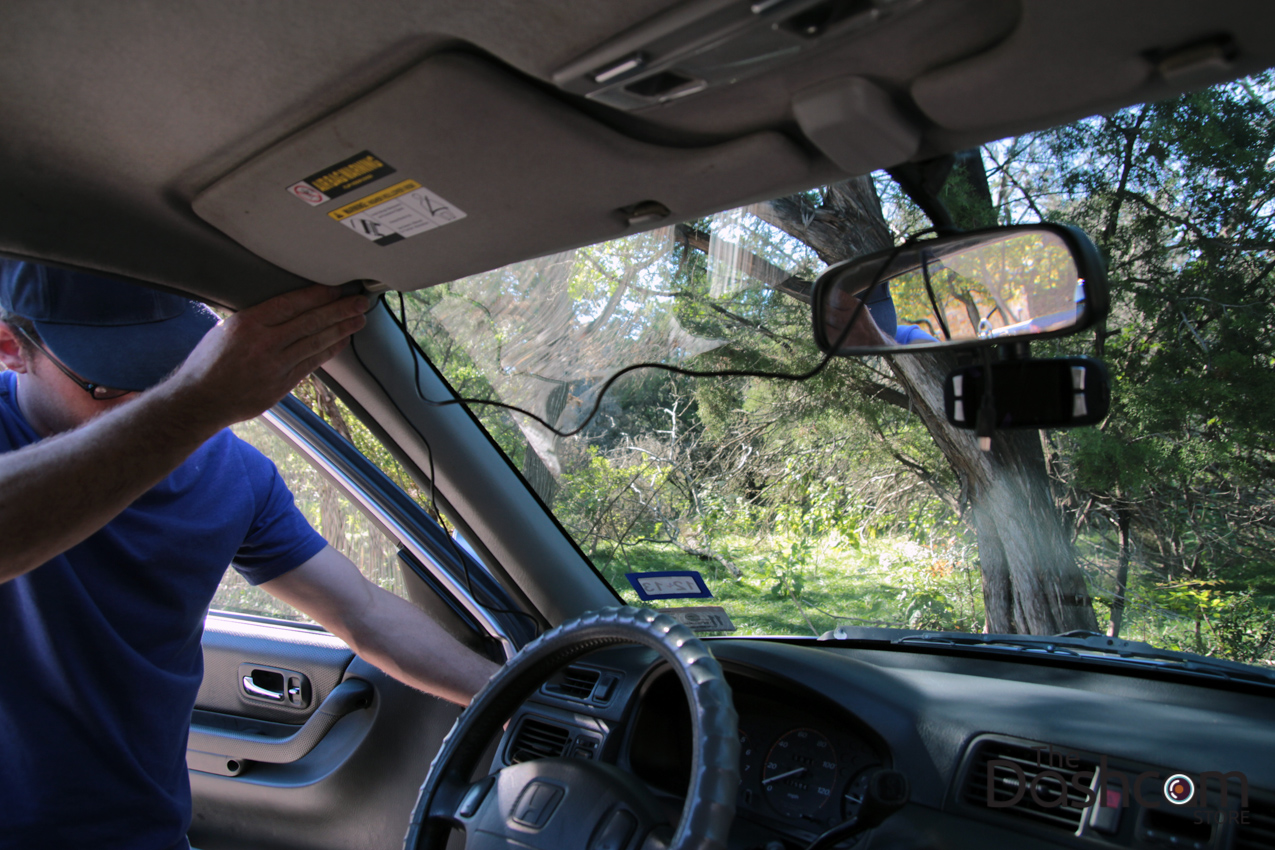
Advanced Tips and Considerations for Dashcam Installation
While the core installation process is outlined above, there are additional considerations and advanced tips that can enhance your experience:
Hardwiring vs. Cigarette Lighter Power
The standard power cable typically plugs into the vehicle’s cigarette lighter socket. This option provides a simple and quick installation, but it also means the dashcam loses power when you turn off the engine. For continuous recording, even when parked, consider hardwiring the dashcam to your vehicle’s fuse box. This requires some electrical knowledge and might be best left to professionals if you’re uncomfortable with electrical work.
Parking Mode Features
If you opt for hardwiring, consider a dashcam with a dedicated parking mode. These modes typically switch to a lower power consumption state when the vehicle is parked but will automatically activate and record footage if they detect motion or impact.
Concealing the Power Cable
For a more aesthetically pleasing look, some users prefer to completely conceal the power cable behind trim panels and headliners. This requires using a trim removal tool to carefully pry open panels, tucking the cable behind them, and snapping them back into place. Patience and a gentle touch are essential to avoid damaging the trim panels.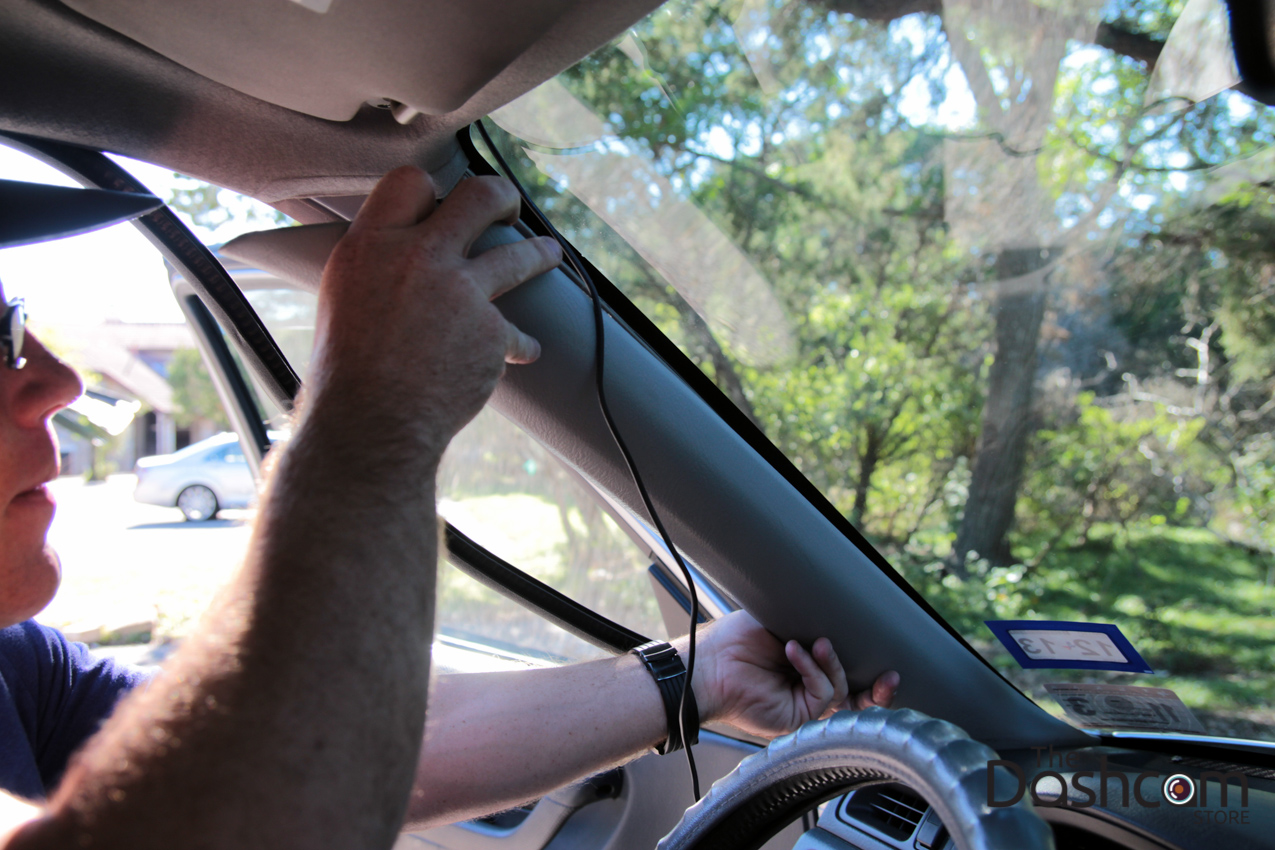
GPS Integration
Some dashcams come with built-in GPS functionality. This adds valuable data to your recordings, such as location and speed, which can be crucial evidence in case of an incident. Ensure your chosen location for the GPS receiver has a clear view of the sky for optimal signal reception.
MicroSD Card Selection
Dashcams record continuously, so a high-quality microSD card with sufficient storage capacity is essential. Choose a card with a high endurance rating, designed for continuous recording, and consider the video resolution and frame rate of your dashcam when determining the storage space needed.
Formatting the SD Card
Over time, SD cards can become fragmented, impacting recording performance. Regularly format the SD card in your dashcam (consult your user manual for specific instructions) to maintain optimal recording quality.
Reviewing Footage
Most dashcams come with software or smartphone apps for viewing and downloading recorded footage. Regularly review your footage to ensure the dashcam is capturing everything as intended and to identify any potential issues.
By following these comprehensive instructions and considering the valuable tips outlined above, you can ensure a successful and professional-looking dashcam installation. With your dashcam properly functioning, you can enjoy added peace of mind on the road, knowing you have a reliable record of your journeys.