
Introduction to Sticker Removal Challenges
Removing stickers from car windows can be a daunting task. Stickers adhered to the glass can leave behind unsightly residues and potentially impair your visibility while driving. The challenge lies not just in the removal, but in doing so without damaging your car’s windshield or windows. This task requires a careful approach and the right materials to avoid scratches or other harm to the glass.
Particularly tough adhesives or long-standing stickers might resist simple peeling methods and can become a stubborn nuisance. Many car owners fear the risk of damage when employing incorrect techniques or harsh chemicals. The goal is to effectively remove the sticker and any associated gooey residue in a manner that maintains the integrity of the windshield and enhances driver safety.
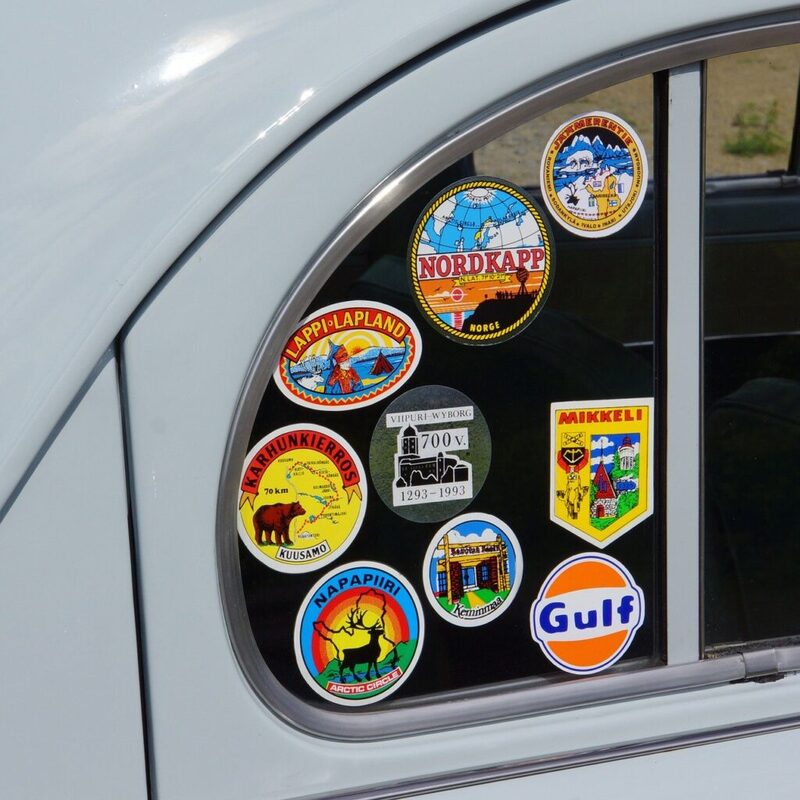
Sticker location, size, and the type of adhesive used affect the difficulty of the removal process. Stickers placed directly within the driver’s line of sight not only pose a risk to visibility but also often prove to be more challenging due to the dire need to remove them thoroughly and quickly. Whether it’s a parking permit, a dealership emblem, or your favorite band’s decal, knowing how to remove these without causing damage is key to maintaining a clean and safe windshield.
Preparatory Steps Before Removal
Before you attempt to remove a sticker from your car window, it’s important to take some preparatory steps. These steps will help ensure that the sticker removal process is smooth and, more importantly, that it doesn’t cause any damage to your car’s glass. Here are some of the actions you should take before you start the removal process:
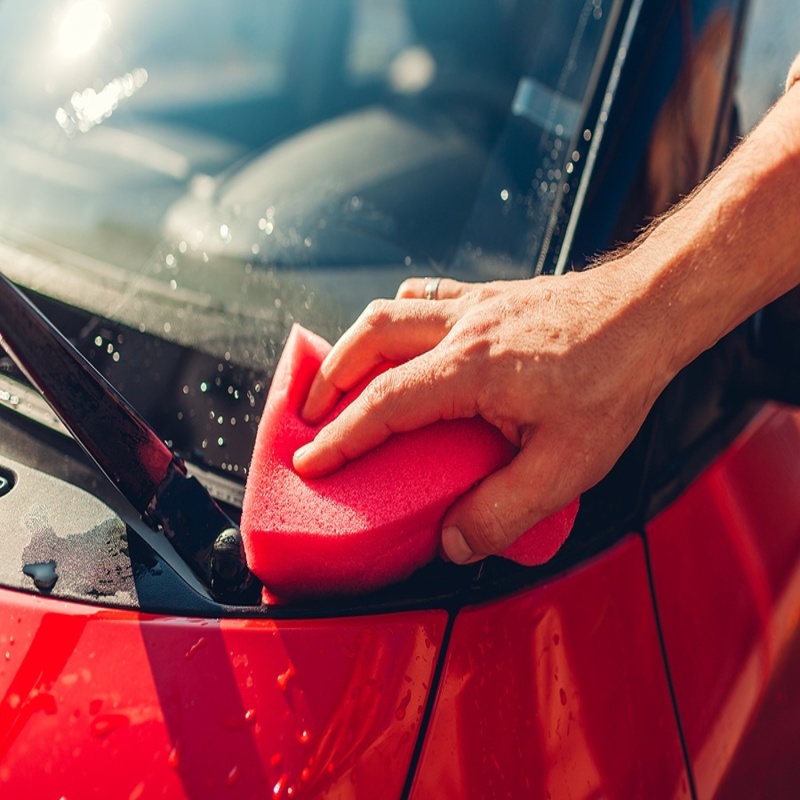
- Clean the Area: Ensure the glass around the sticker is clean. Any dirt or debris could potentially scratch the glass when you’re removing the sticker.
- Tools Ready: Gather the necessary equipment such as a plastic scraper, soft cloth, and any cleaning solution you intend to use.
- Heating Up: If the sticker is particularly stubborn, you might want to gently warm the area with a hairdryer. The heat can help soften the adhesive, making it easier to peel away.
- Picking an Edge: Using a fingernail or a plastic card, gently lift the edge of the sticker. Be sure to avoid using anything sharp that might scratch the window.
- Testing: If you’re using a cleaning solution or chemical, test it on a small, inconspicuous area of the glass first. This is to ensure it won’t cause any damage.
By following these preparatory steps, you can avoid damage and remove the sticker from your car window without issue. Remember to take your time and be gentle during the entire process to maintain the integrity of your car’s windshield. After these steps, you are now ready to move on to the actual removal process using methods like soapy water, window cleaning detergents, rubbing alcohol, or other solutions discussed in this guide.
Using Soapy Water for Sticker Removal
When dealing with stickers on car windows, soapy water is a common and effective first step. The goal is to soften the adhesive without harming the glass. Here’s how to use soapy water for sticker removal:
- Mix Warm Water and Soap: Fill a bucket with warm water and add a few drops of dish soap. Mix well to create soapy water.
- Soak the Sticker: Dip a soft rag in the soapy water and apply it to the sticker. Let the moisture penetrate the adhesive for several minutes.
- Peel off the Sticker: Gently start peeling the sticker from a corner. Use your fingers or a plastic card to lift it without scratching the window.
- Tackle the Residue: If there’s sticky residue left, reapply the soapy rag to soften it. Then, carefully use the rag or a plastic scraper to remove it.
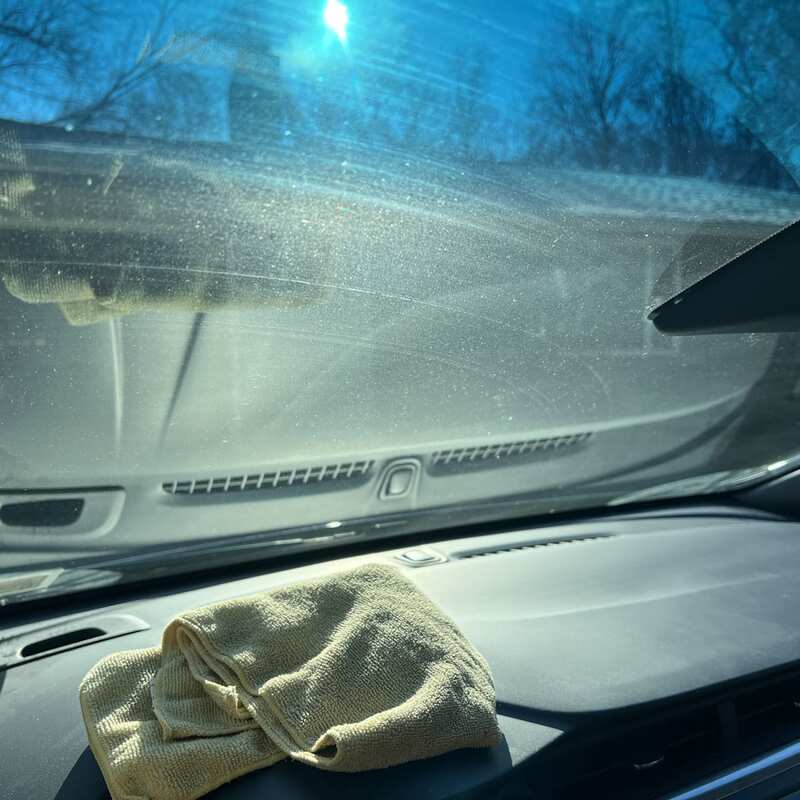
- Rinse and Dry: Once the sticker and residue are gone, rinse the area with clean water. Dry it with a soft, absorbent cloth to prevent water spots.
Using soapy water is particularly helpful because it is safe for the windshield and it’s a method accessible to anyone. Keep in mind that patience is important; stickers may require repeated soaking to loosen sufficiently. Always ensure you’re using clean tools to avoid scratching the glass and keep the safety of your windshield at the forefront of your efforts.
Effective Use of Window Cleaning Detergents
Window cleaning detergents are a great ally in sticker removal. They’re designed to dissolve grime on glass without causing harm. Here’s a straightforward approach to using window cleaning detergents:
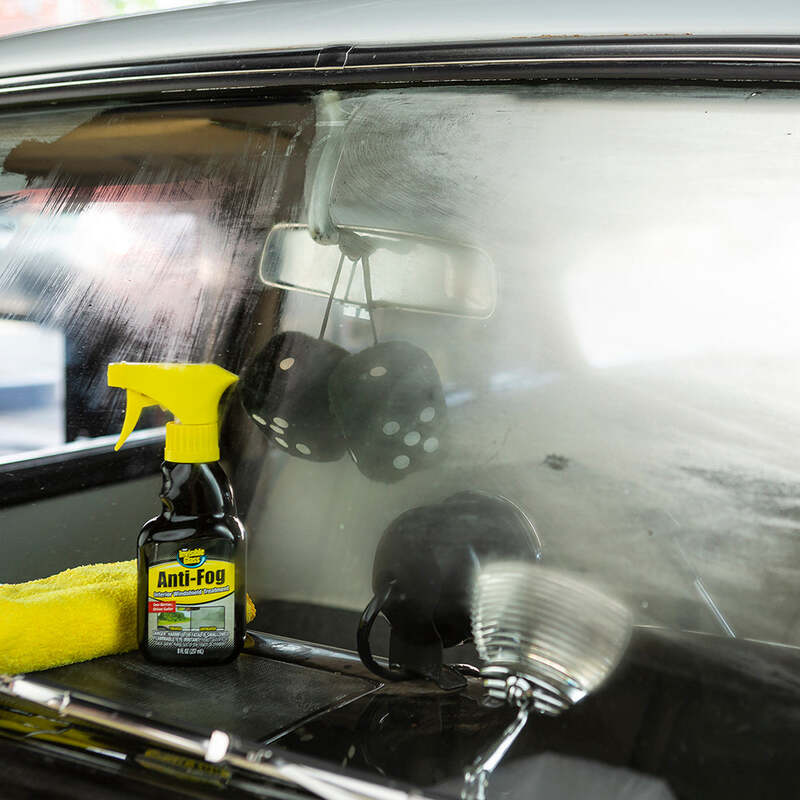
- Apply Window Cleaner: Spray the detergent directly onto the sticker. Make sure it’s well coated.
- Wait a Few Minutes: Let the cleaning solution sit for a short time. This softens the sticker and adhesive.
- Use a Plastic Scraper: Check if the sticker feels loose. If yes, gently nudge the edges with a plastic scraper.
- Wipe Away Residue: Once the sticker is off, there might be some glue left. Use a clean cloth to wipe it off.
- Clean the Glass: Finish by wiping the window with a dry paper towel until it’s clear and streak-free.
Remember, don’t rush the process. Give the cleaning solution time to work. Always use a scraper made of plastic, not metal, to prevent scratches. This method allows for the removal of stickers without damage to your car window. It’s simple, effective, and preserves your windshield’s integrity.
Rubbing Alcohol Method
Using rubbing alcohol is a tried-and-true method for removing stickers from car windows. Not only does it dissolve adhesive effectively, but it’s also gentle enough to avoid damaging the glass. Here are the steps for employing this technique:
- Soak a Paper Towel: Dampen a paper towel with rubbing alcohol. Cover the sticker completely with the towel.
- Let It Sit: Allow the alcohol to work into the sticker for a few minutes. This will weaken the adhesive.
- Scrape Gently: With the sticker softened, use a plastic card or scraper. Slowly remove the sticker without scratching the window.
- Address the Residue: If stickiness remains, apply more alcohol. Rub it off with a clean paper towel.
- Finish Up: After removing the residue, dry the area with a soft cloth. This will prevent any water marks.
The rubbing alcohol method is efficient and affordable. It avoids the use of harsh chemicals and preserves your windshield’s clarity. Make sure you’re in a well-ventilated area when using alcohol. Direct inhalation can be harmful.
Baking Soda Solution for Sticker Residue
Removing sticker residue from car windows can be easy with baking soda. This natural cleaner is safe for glass. Here’s a simple method:
- Make a Paste: Mix baking soda with cooking oil. Create a thick paste.
- Apply the Paste: Put the mixture on the sticky area. Let it soak in.
- Wait: Give it time. The paste will break down the residue.
- Scrape Off: Use a plastic card. Gently remove the softened sticker bits.
- Wash the Glass: Clean the area with water. Use a soft cloth to dry.
Baking soda is non-toxic but don’t use it on tinted glass. It could damage the tint. Always test a small area first. This method avoids scratches and keeps your windshield clear.
Adhesive Cleaners for Quick Removal
For a fast sticker removal, adhesive cleaners are the way to go. These cleaners are specifically designed to soften the glue, which allows for an easy peel-off process. Here’s how to use them:
- Spray Adhesive Cleaner: Apply the adhesive remover spray onto the sticker. Make sure it covers the whole area.
- Wait a Few Minutes: Allow the cleaner to penetrate the sticker for several minutes. This helps soften the adhesive.
- Peel or Scrape: After the sticker has soaked, you can often peel it off effortlessly. If it doesn’t come off easily, use a plastic scraper.
- Remove Residue: Any leftover sticky bits can be removed with the adhesive cleaner or a soft cloth.
- Final Cleaning: Use window-cleaning detergent to clean the glass. Now, it should look clear again.
When using adhesive cleaners, make sure the product is suitable for your car’s windows to prevent damage. Always follow the instructions on the cleaner. This method saves time and keeps your car window free of damage.
Utilizing Cold Methods with Ice
The cold method is a simple, yet effective, means to remove sticker from car window without damage. It requires little more than ice, patience, and care. Here’s how to implement the cold approach:
- Freeze the Sticker: Place an ice pack or a bag of ice directly onto the sticker. This causes the adhesive to become brittle and less sticky.
- Wait Patiently: Let the ice sit on the sticker for a few minutes. This step is crucial for the adhesive to harden fully.
- Scrape Carefully: Once the sticker is firm, use a plastic card to gently scrape it away. Hold the card at a slight angle to avoid scratching the glass.
- Clean Up: After the sticker is removed, wipe the area with a soft cloth to remove any moisture or residue.
- Dry the Surface: Finish by drying the glass with a clean, dry microfiber towel to prevent water spots from forming.
Using cold methods with ice prevents damage to your car window. It’s safe, non-toxic, and cost-effective. Remember to take it slow when scraping the chilled adhesive to maintain the integrity of the windshield. Ice can be a powerful tool for hard-to-remove stickers and leaves the glass undamaged and clear.
Advantages of Steam Cleaning
Steam cleaning is a powerful method to remove sticker from car window without damage. It softens adhesive quickly without harsh chemicals. Here’s why it’s effective:
- Gentle on Glass: Steam doesn’t scratch or etch the window like abrasive tools can.
- No Chemicals Needed: It uses only water, making it eco-friendly and non-toxic.
- Fast and Efficient: Heat from the steam works fast to loosen the sticker adhesion.
- Cleans as it Works: Steam also cleans the glass, leaving it clear and streak-free.
To use this method, simply fill a steam cleaner with water and let it heat up. Aim the steam at the sticker and keep it there until the adhesive softens. Then, gently peel or scrape the sticker off. Always handle the steam cleaner with care as steam can be very hot. This method is ideal for those wanting to avoid chemicals and reduce the risk of damage to their car windows.
Employing Vinegar for Residue Cleanup
Vinegar is a safe and effective way to clean sticker residue from car windows. To start, gather white vinegar, a clean cloth, and a plastic scraper. Soak the cloth with vinegar, then press it onto the residue. Let it soak for a few minutes; this helps break down the adhesive. Gently scrape the residue with the plastic scraper. Take care not to scratch the window. Wipe the area with a damp cloth to remove any vinegar traces. Finally, dry the window with a soft, clean cloth. Vinegar is gentle on glass and doesn’t leave harmful chemicals behind. It’s a simple, eco-friendly method to keep your windshield clear.
Essential Safety Tips and Precautions
When you set out to remove sticker from car window without damage, safety is paramount. Here are quick, crucial tips to keep in mind:
- Avoid Sharp Tools: Never use sharp objects like knives or razors, they can scratch your windshield.
- Wear Protective Gloves: Use gloves when working with chemicals or when using rubbing alcohol to prevent skin irritation.
- Gentle Scraping: Stick to plastic scrapers or cards for peeling off stickers to avoid glass damage.
- Work in a Ventilated Area: When using substances like vinegar or rubbing alcohol, ensure you’re in a well-aired space to avoid inhaling fumes.
- Test First: Always test cleaners on a small windshield area first to avoid discoloration or damage.
- Avoid Direct Sun: Don’t clean your windshield in direct sunlight, as solutions can quickly evaporate and leave residue.
- Keep Safety in Sight: Ensure nothing blocks your view while driving. Remove stickers from the driver’s line of sight immediately.
- Dispose of Chemicals Properly: After use, correctly dispose of any cloths or chemicals as per your local regulations.
By following these tips, you will ensure not just a sticker-free window, but also a safe and pleasant driving experience.
Conclusion and Professional Services for Windshield Care
Concluding our journey through the various methods to remove sticker from car window without damage, it’s clear that there are numerous ways to tackle this task safely. These include using soapy water, window cleaning detergents, rubbing alcohol, baking soda solutions, adhesive cleaners, cold methods with ice, steam cleaning, and vinegar. Each technique has its own benefits, and with careful application, they help you retain the pristine condition of your windshield. It is vital to choose the right method suited to the type of sticker and adhesive, and to follow safety precautions diligently.
For stickers that just won’t budge or if you’re dealing with damage beyond a sticky residue, professional windshield services are advised. Specialists like AIS Windshield Experts offer top-notch services that adhere to international safety norms. With skilled technicians, they can efficiently remove any stubborn stickers and address any related damage such as scratches or chips in the glass. Their use of premium materials and dedication to quality ensure that your car’s windshield receives the best care possible. Remember, maintaining a clear and undamaged windshield is not just about aesthetics; it’s crucial for ensuring unobstructed visibility and safety on the road. So, if in doubt, always opt for professional help to maintain the integrity of your windshield.

