
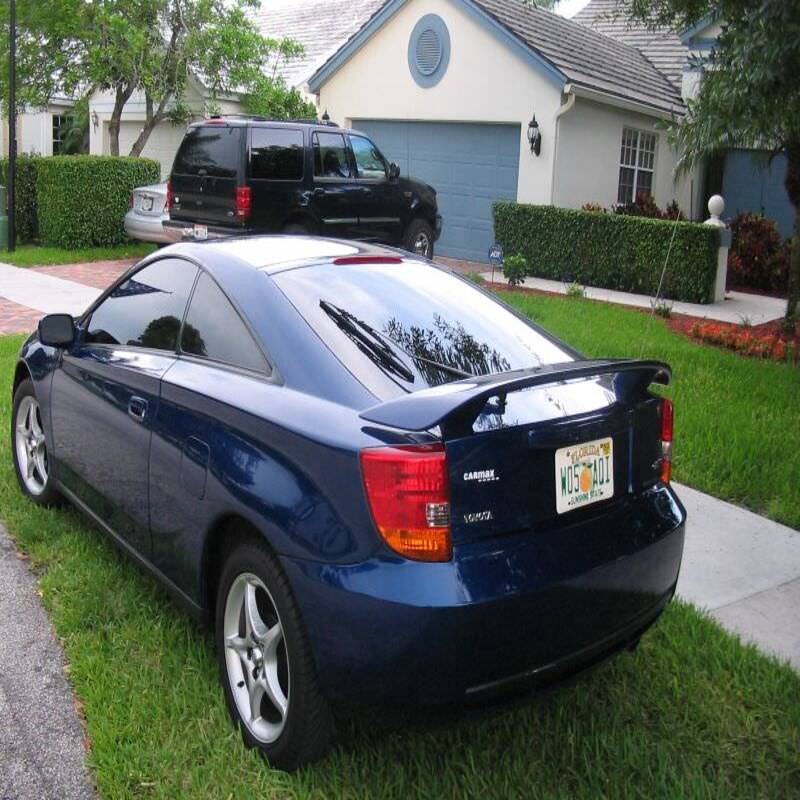
Removing undesirable stickers, like a CarMax sticker, can enhance your vehicle’s appearance. Adhesive residue may linger, disturbing the clean look of your car. Fortunately, this article will guide you through the process.
Understanding the Sticker Material
Types of Stickers Used by CarMax
CarMax typically uses vinyl stickers. Vinyl is a common material for automotive stickers. They are durable and weather-resistant, which makes them long-lasting. However, this durability can make removal challenging. Prying up the sticker requires patience and the correct approach.
Additionally, you should consider any supporting materials. If the sticker has a backing, it might be easier to peel off. Knowing what you’re dealing with is crucial. Understanding the type of sticker helps you choose the right removal technique.
Analyzing the Adhesive Properties
Most stickers from CarMax use strong adhesives. This means you should prepare thoroughly. If the sticker has been in place for a long time, the adhesive can become stubborn. You might need additional methods to remove it.
Analyzing the adhesive properties will help you select appropriate removal tools. Some adhesives respond well to heat or solvents, while others do not. Knowing this can save you time and frustration. Ultimately, a clear understanding of materials will lead to successful sticker removal.

Gathering Necessary Tools and Materials
Essential Tools for Sticker Removal
Before you start, gather essential tools. You will need a plastic scraper or credit card. These tools can gently lift the sticker without damaging your car’s surface. A heat gun or hairdryer can also be beneficial. Heat softens the adhesive, making removal much easier.
Furthermore, having adhesive removers on hand will be helpful. Solutions like Goo Gone or rubbing alcohol can break down stubborn adhesive. Soft cloths will also be needed for a clean finish. Having these materials ready ensures a seamless removal process.
Safety Precautions to Consider
While gathering your tools, remember to consider safety first. Working with a heat source can be hazardous. Always wear gloves when using chemical adhesive removers. The chemicals could irritate your skin, so keep this in mind. Using safety glasses is also wise to protect your eyes.
Additionally, ensure you are working in a well-ventilated area. Fumes from adhesive removers can be potent. Therefore, be cautious about inhaling harmful vapors. These precautions help create a safe environment. A safe working area allows you to focus on the task without worry.
Step-by-Step Procedure to Remove the Sticker
Step One: Preparing the Area
Before starting, prepare the area around the sticker. Clean the surface around the sticker with soap and water. A clean surface will prevent dirt from interfering with the removal process. Dry the area thoroughly with a soft cloth.
Next, park your car in a shady spot. A direct sunbeam can cause the adhesive to harden. In a shaded area, the sticker may peel away more smoothly. Ensuring you have a clear workspace is critical here.
Step Two: Heating the Sticker
Once you’ve prepared the area, it is time to heat the sticker. Begin by using a hairdryer or heat gun. Hold it about six inches away to avoid damage. The heat will soften the adhesive. Make sure to move the dryer back and forth to distribute heat evenly.
After heating for about 30 seconds, check the sticker’s edge. If it feels warm and pliable, it’s ready for removal. If it still seems stuck, apply additional heat. Patience is vital in this step; ensure you do not rush.
Step Three: Gently Peeling the Sticker
Once adequately heated, use your plastic scraper or credit card. Insert it under the edge of the sticker. Slowly and carefully lift the sticker. If resistance is felt, avoid pulling too hard. Apply more heat as needed.
Continue peeling until the sticker is entirely removed. If a portion lingers, reheat that specific area. Take your time to avoid scratching the paint. Rushing this step may damage your car’s surface.
Dealing with Residue Left Behind
Evaluating the Remaining Adhesive
Once the sticker is removed, you may notice some adhesive residue. Inspect the area closely to gauge its extent. Depending on the adhesive used, the residue might vary in stickiness. Evaluating the situation helps you prepare for cleaning.
It is helpful to know that residue can be stubborn. Rubbing it with your fingernail may only slightly lift it. Therefore, specific cleaning solutions better remove the residue.
Cleaning Options for Adhesive Residue
There are several options for removing adhesive residue effectively. For light residue, rubbing alcohol works wonders. Dampen a cloth with alcohol and gently rub the area. The solution breaks down the adhesive without damaging the paint.
For stubborn residue, try a commercial adhesive remover. Products like Goo Gone are specifically formulated for this purpose. Apply it per the product instructions. Most importantly, following the manufacturer’s guidelines ensures safety.
Ensuring a Smooth Finish After Removal
Final Touches for Paint Care
Once the adhesive is removed, you may notice a dull spot. This area can appear slightly different in color. To address this issue, consider using car polish. It helps restore shine to the area, making it match the surrounding paint.
Apply a small amount of polish to a soft cloth. Buff it gently over the area in circular motions. This action will help blend the surface appearance. You will achieve a smooth, polished finish.
Routine Maintenance for Your Car’s Surface
After removing the sticker, seize this opportunity for maintenance. Regular cleaning extends the life of your vehicle’s paint. Use a gentle car wash soap and soft microfiber cloths. Avoid harsh chemicals that cause damage over time.
Additionally, consider applying wax every few months. Wax establishes a protective barrier. It protects against scratches, UV rays, and dirt buildup. Routine maintenance will keep your car looking fantastic. You’ll enjoy a fresh, clean surface free of unwanted stickers.
Preventative Measures for the Future
Applying a Protective Wax
Preventative measures can save you from future hassle. After removing the sticker, consider applying a coat of car wax over the area. Wax serves as a protective barrier against the elements. It can also make future sticker removal easier, should you decide to place new stickers on your vehicle. Make sure to select a quality car wax to ensure durable protection. This simple step can significantly prolong your car’s surface quality.
Using Removable Stickers
If you plan to use stickers in the future, opt for removable models. Various brands manufacture stickers designed to be easily removed without causing damage. These types often use less aggressive adhesives that won’t stick as tenaciously to paintwork. Therefore, you can enjoy personalizing your car without fearing extensive damage. Being strategic about sticker choices contributes to maintaining your car’s appearance.
Conclusion
Removing a CarMax sticker from your car is straightforward. With the right tools and techniques, you can achieve it easily. Patience and attention to detail are crucial throughout the process.
From understanding the sticker’s material to gathering the necessary tools, each step matters. Following a systematic approach assures successful sticker removal. Taking precautions ensures your safety while working.
Once the sticker is gone, address any adhesive residue. Evaluate the remaining adhesive and use appropriate cleaning solutions. Finally, finish up with polish and regular maintenance.
Incorporating these practices will enhance your car’s appearance. You will enjoy a vehicle that looks pristine and well-maintained. The satisfaction of a successful removal will boost your confidence. Enjoy driving your refreshed car!

